Signing portal
The EasyInk Signing Portal is the dedicated interface where participants (signers, initiators, and producers) review, sign, and complete documents within a signing session. When a participant follows a signing link, they are guided through a structured workflow: accepting Terms and Conditions, reviewing instructions, interacting with signing fields on the document, and ultimately finishing the signing process. This guide covers every step of the portal experience, from the initial Terms and Conditions screen through to the final Success Screen and document download.
Prerequisites
- A valid signing link received via email or other notification method
- A supported web browser (desktop or mobile -- iPhone, Android)
- Participant information (first name, last name) already configured in the signing session by the initiator
- All required signing fields placed on the document(s) by the session creator
- An active internet connection
Step-by-Step Instructions
Terms and Conditions
-
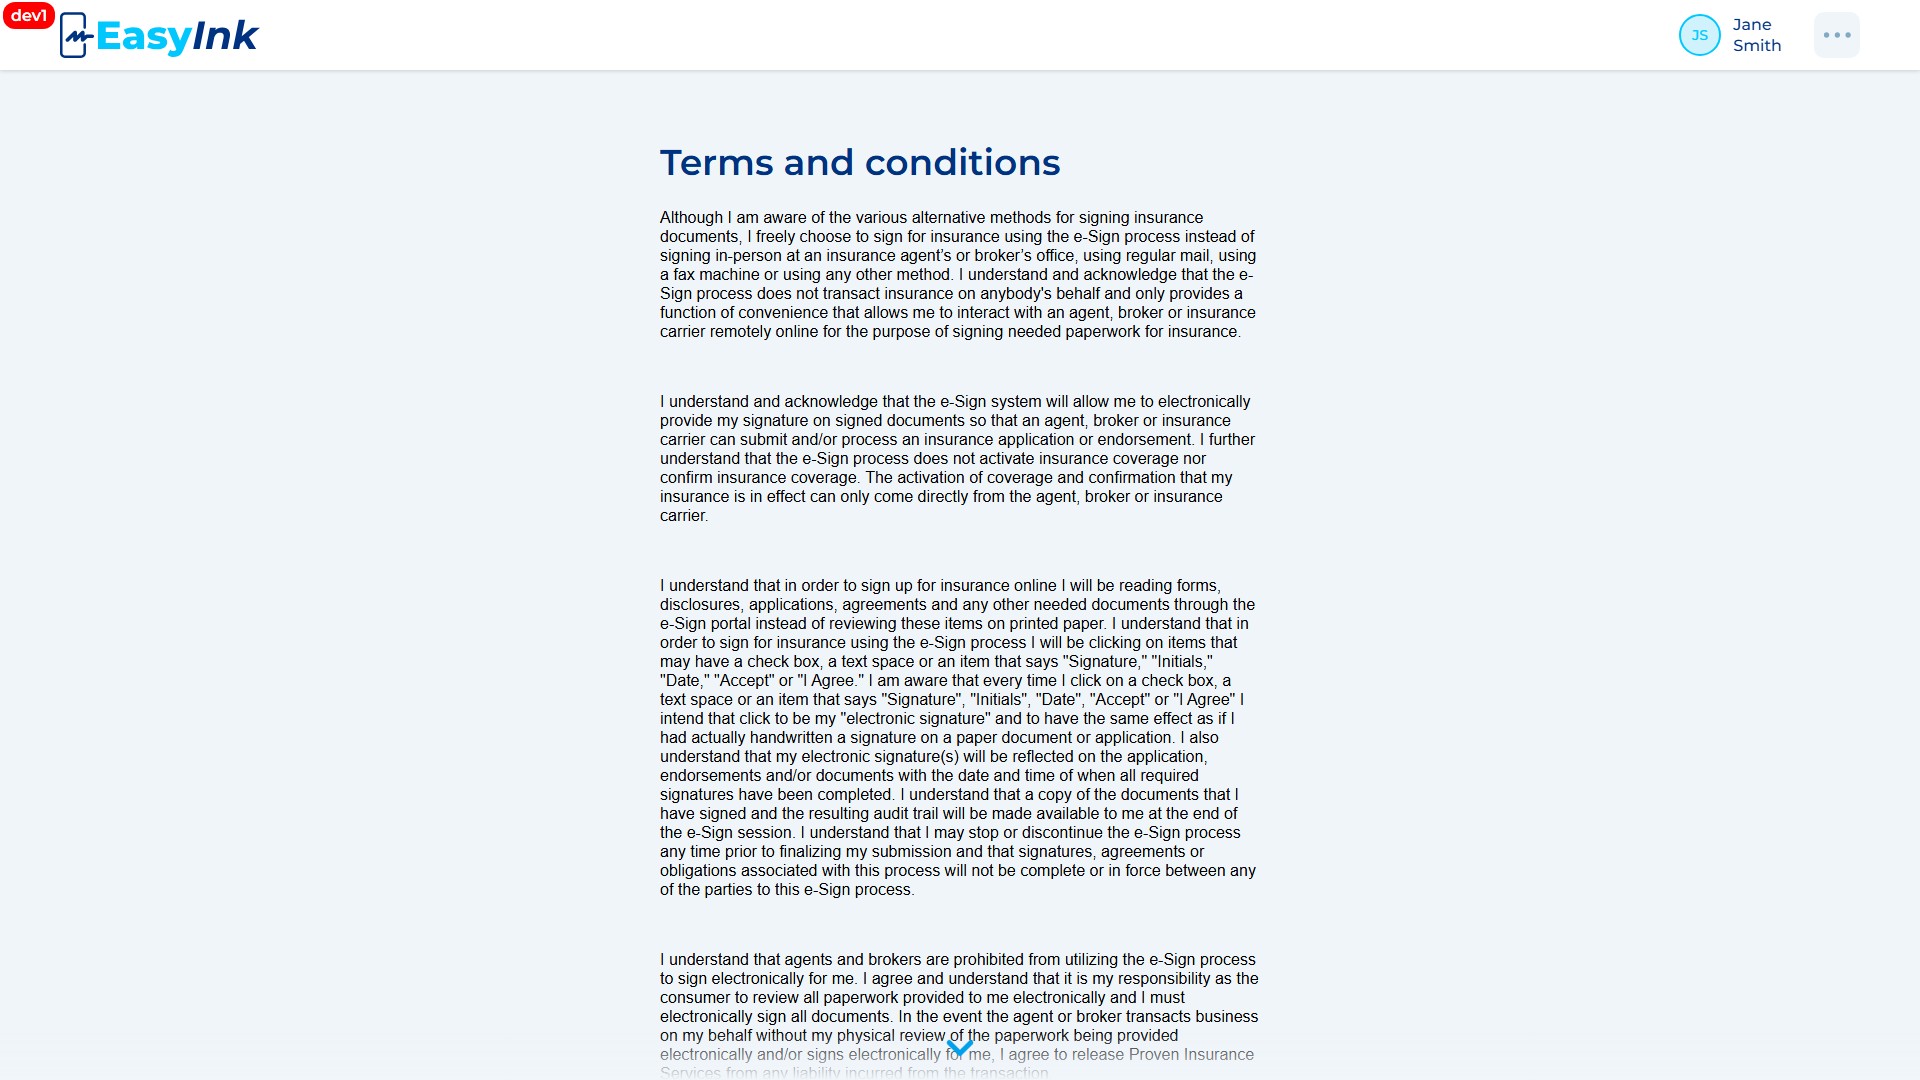
Open the signing link: Click the signing link provided to you via email or other notification. The system opens the EasyInk Signing Portal and displays the Terms and Conditions page as the first step. The header displays the EasyInk logo in the top-left corner (clickable for initiators and producers to navigate home, but not clickable for signers), your user initials in the top-right corner, and your first and last name (middle name is not displayed).
-
Review and agree to the Terms and Conditions: Read through the Terms and Conditions text displayed on the page. The content shown depends on your role: signers see content sourced from the "Terms and conditions for the signer" template configured in Settings, while initiators see content from the "Terms and conditions for the initiator" template. After scrolling through the full content, check the "I agree with Terms and Conditions" checkbox and click the Continue button to proceed to the next step. The Continue button remains disabled until the checkbox is checked. If you have recently accepted the Terms and Conditions for the current signing link, this entire step is automatically skipped and you proceed directly to the Start Signing modal.

Start Signing Modal
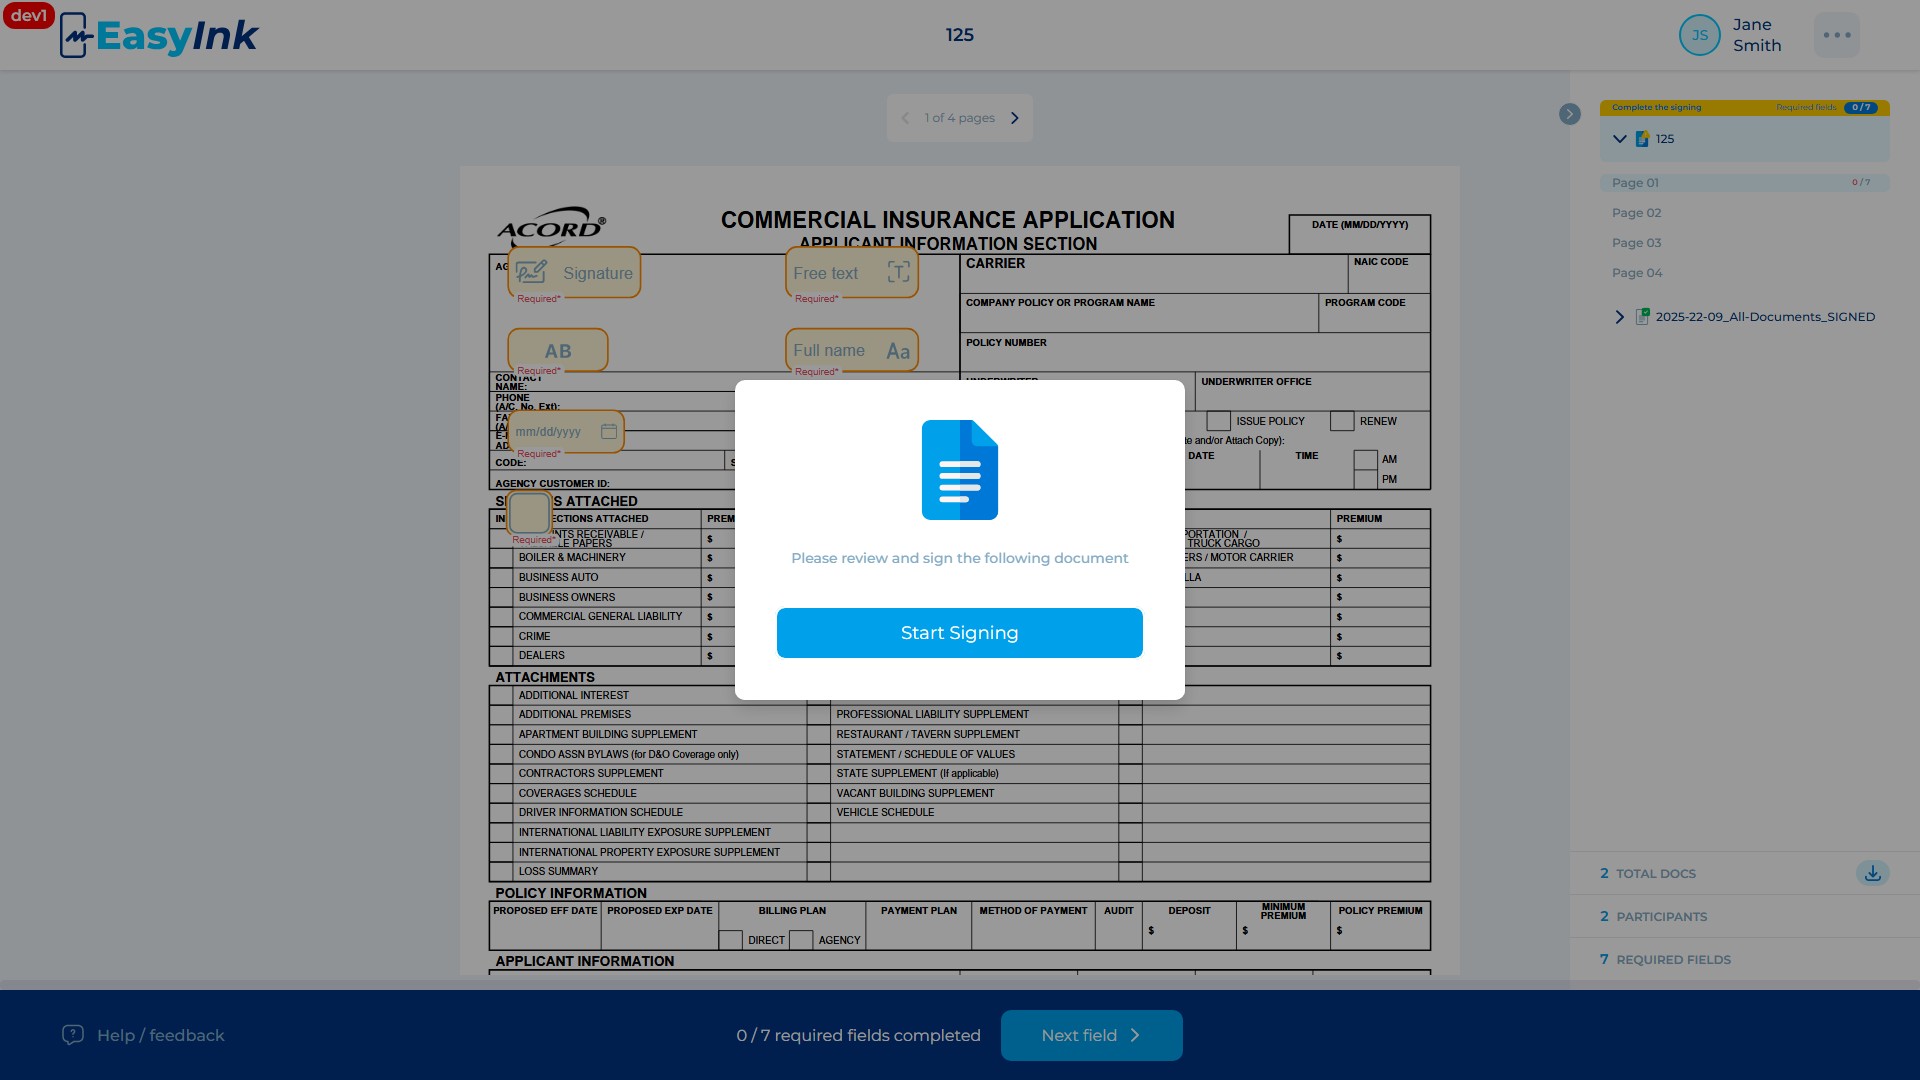
- Review the Start Signing modal and click Start Signing: After accepting the Terms and Conditions, a modal dialog appears with the message "Please review and sign the following document". The content of this modal is sourced from the "Instructions to signer" template configured in Settings. Read the instructions carefully, then click the blue Start Signing button at the bottom of the modal to enter the document signing view.
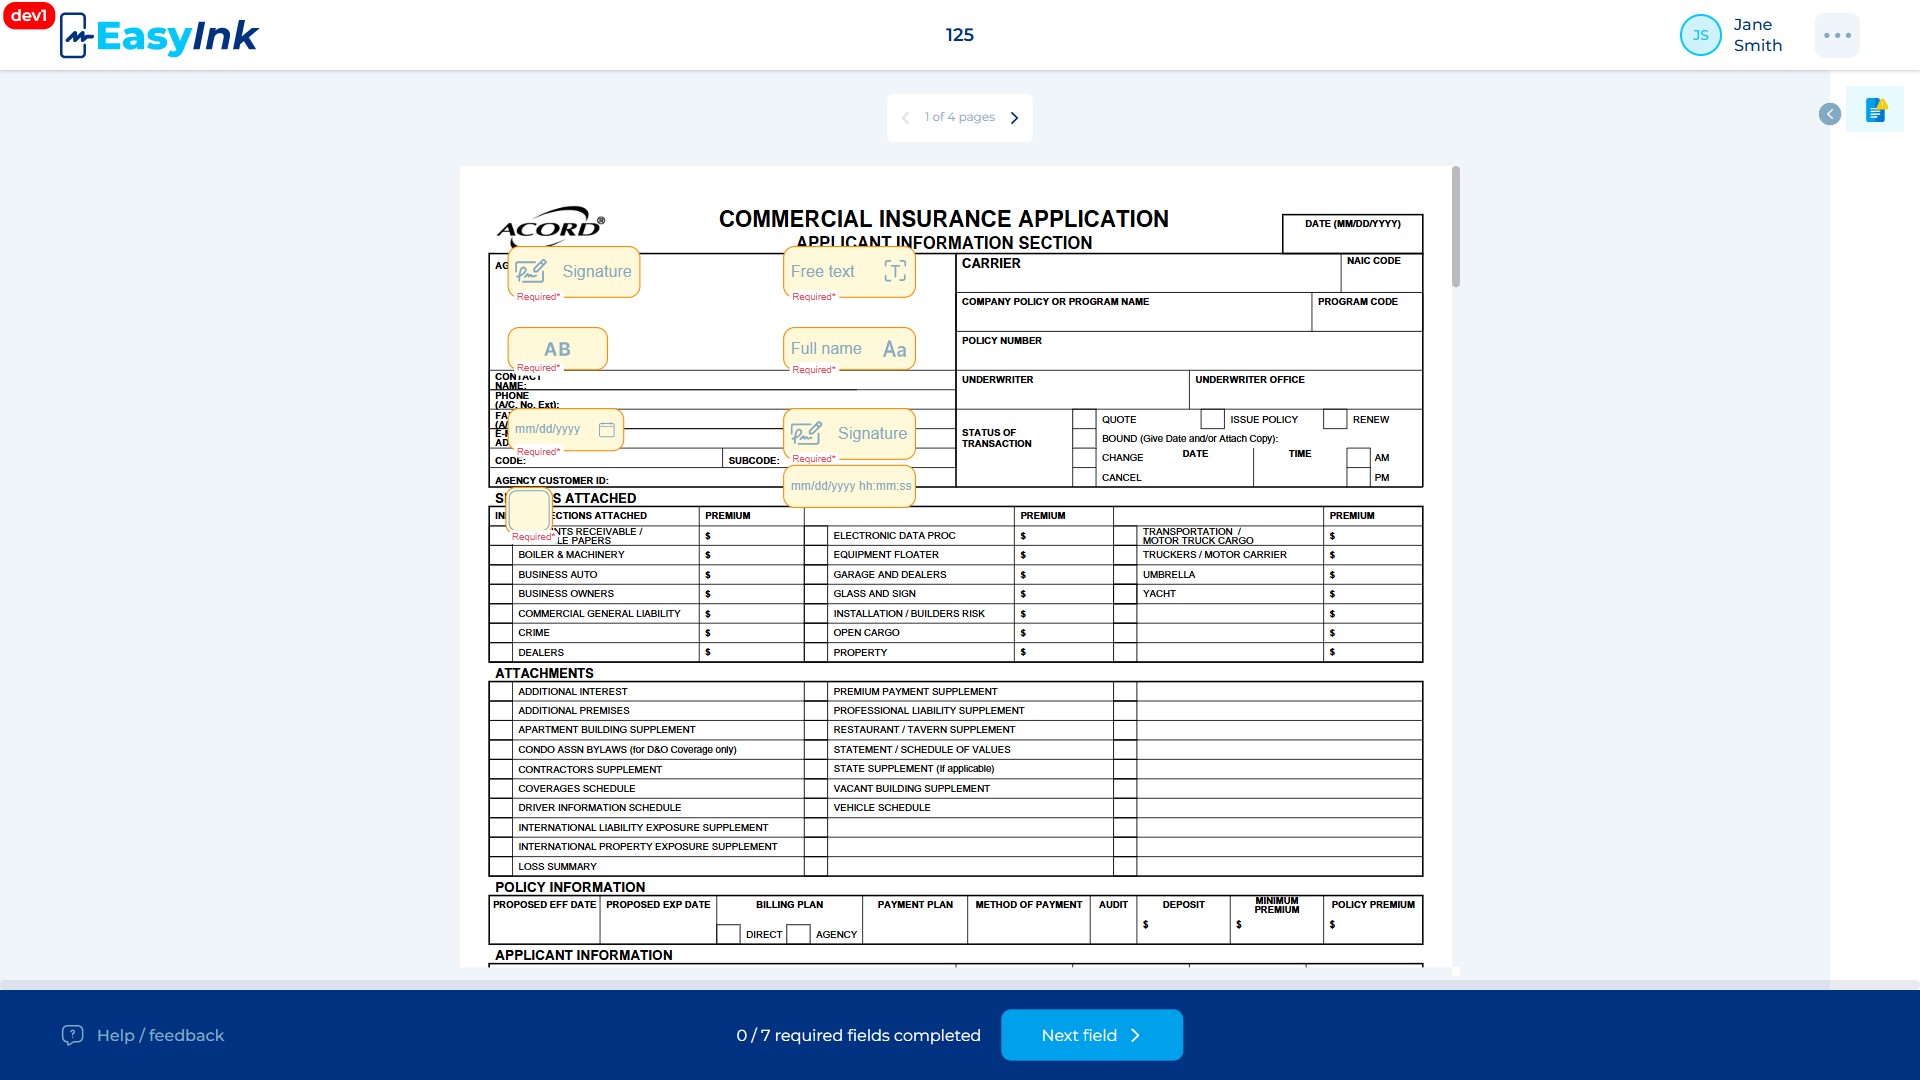
Activating Signing Fields
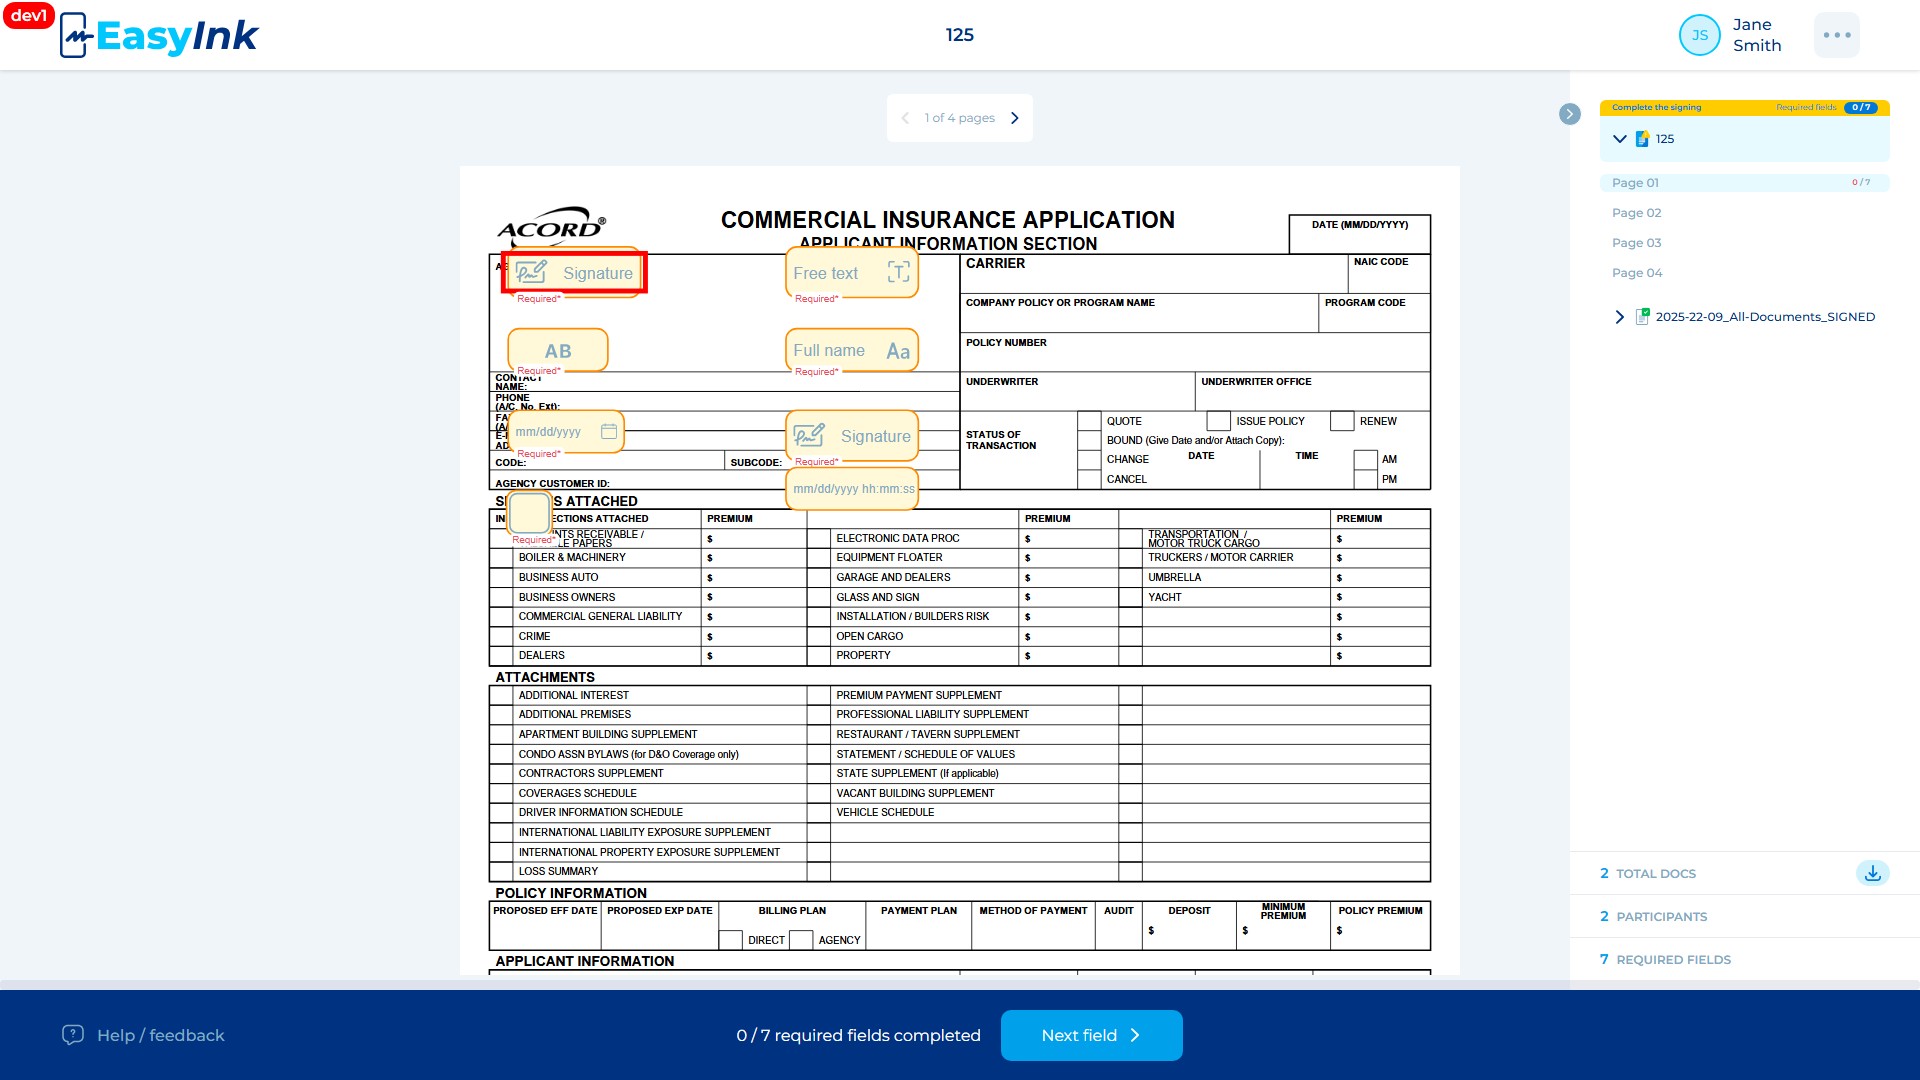
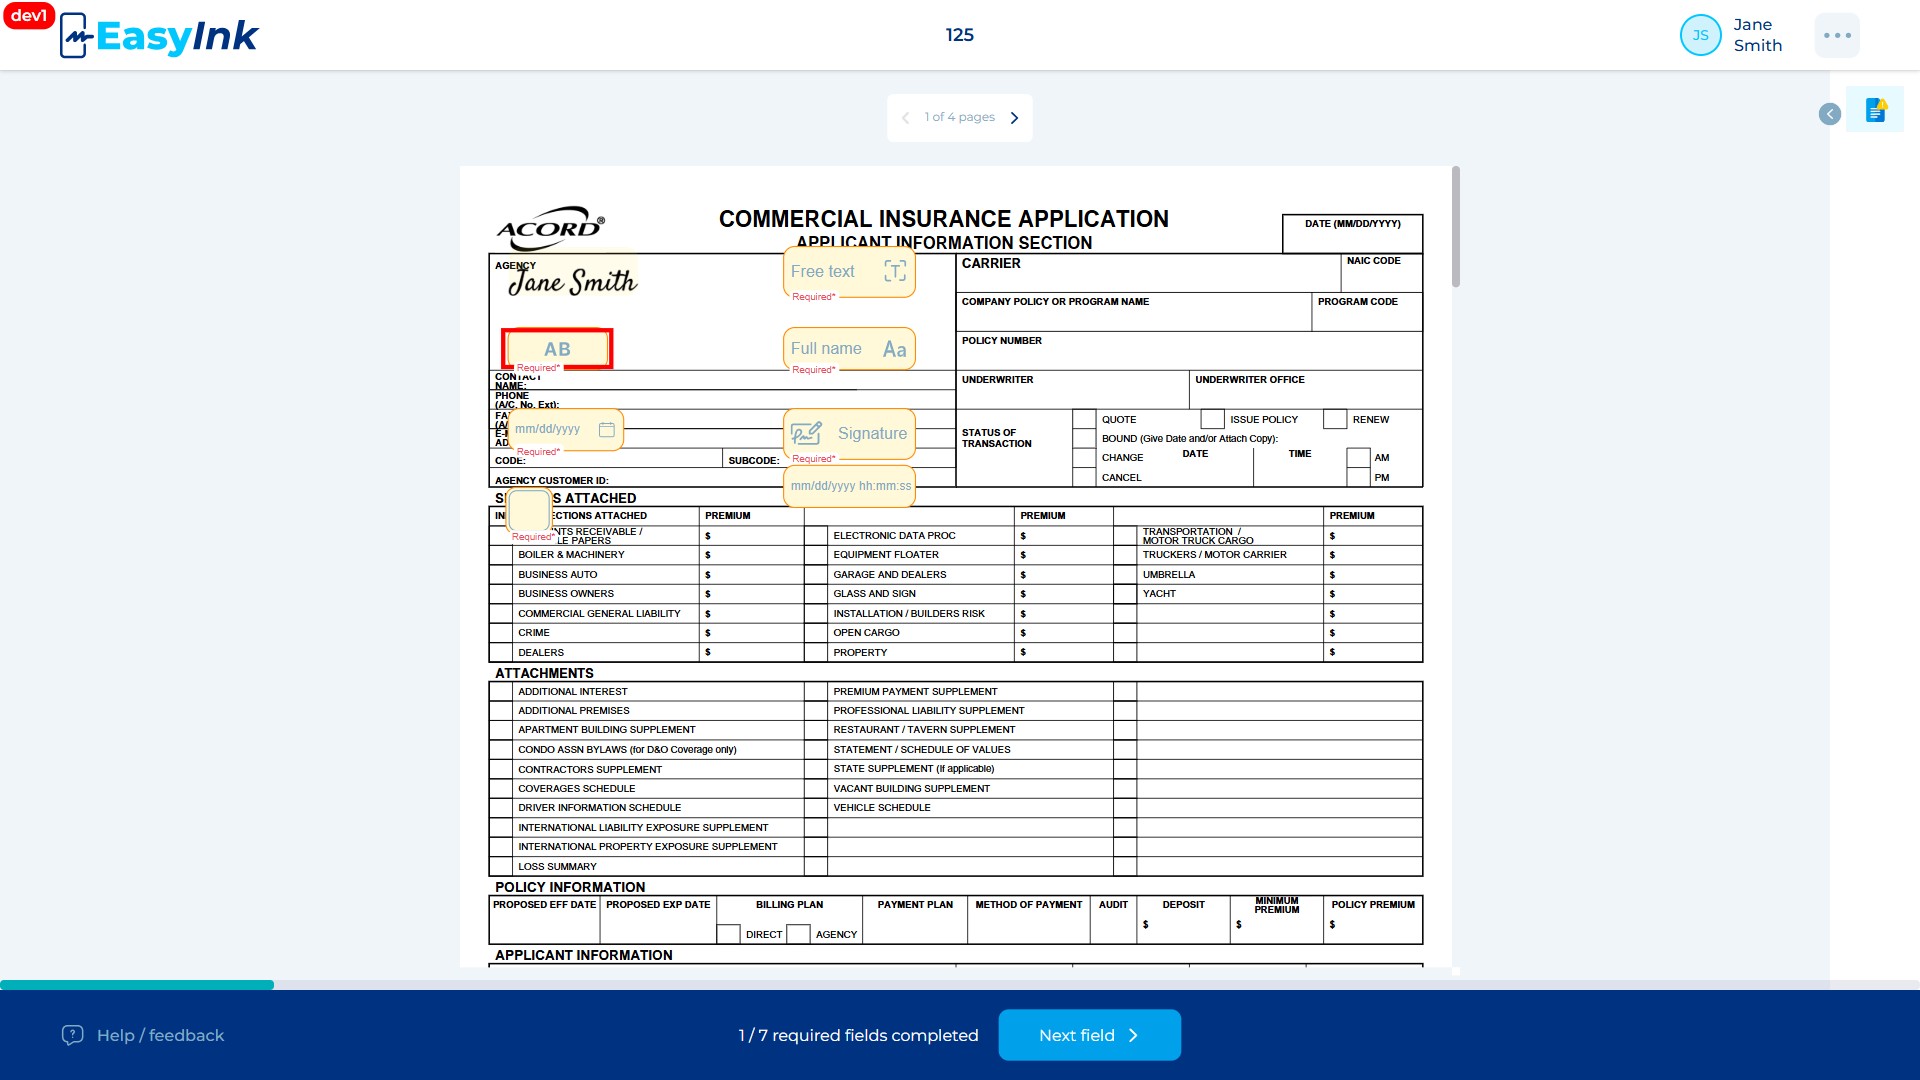
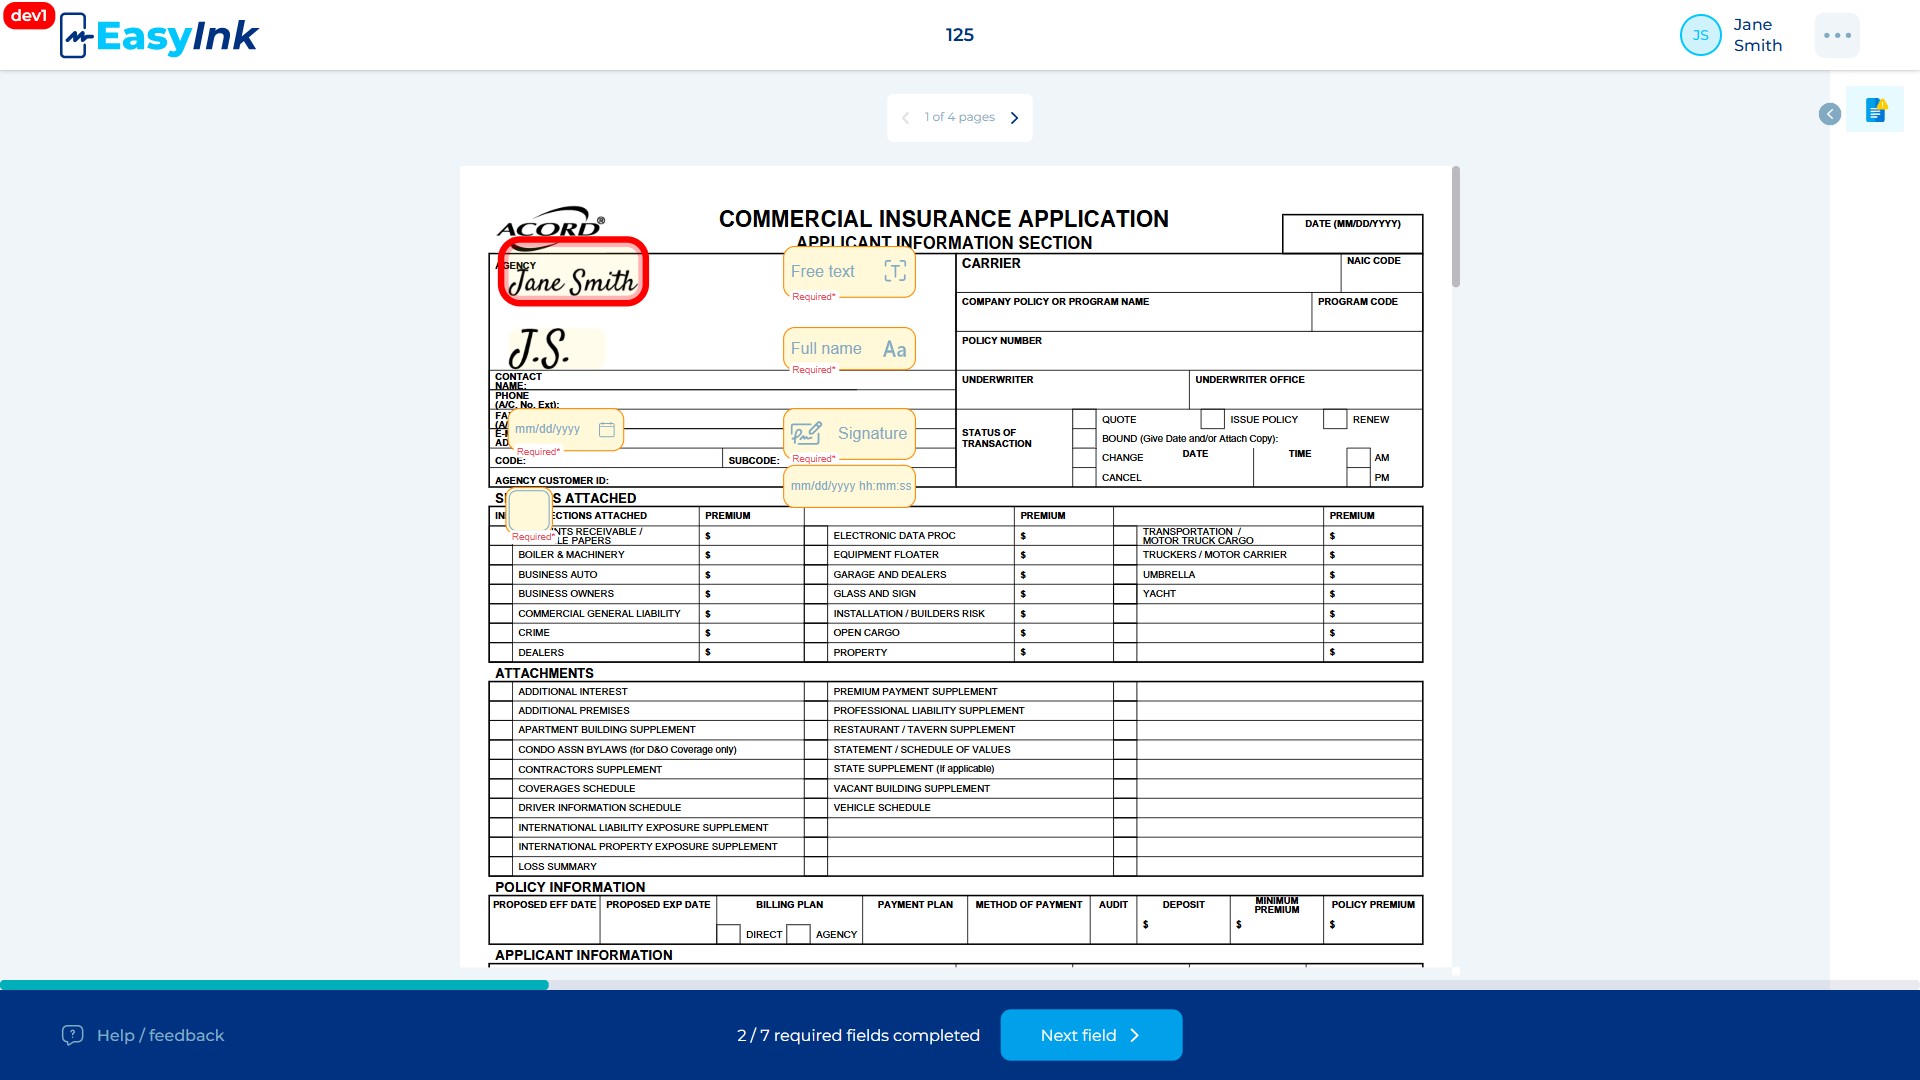
The EasyInk Signing Portal supports seven distinct field types. Each field type has its own activation behavior.
Signature Field
-
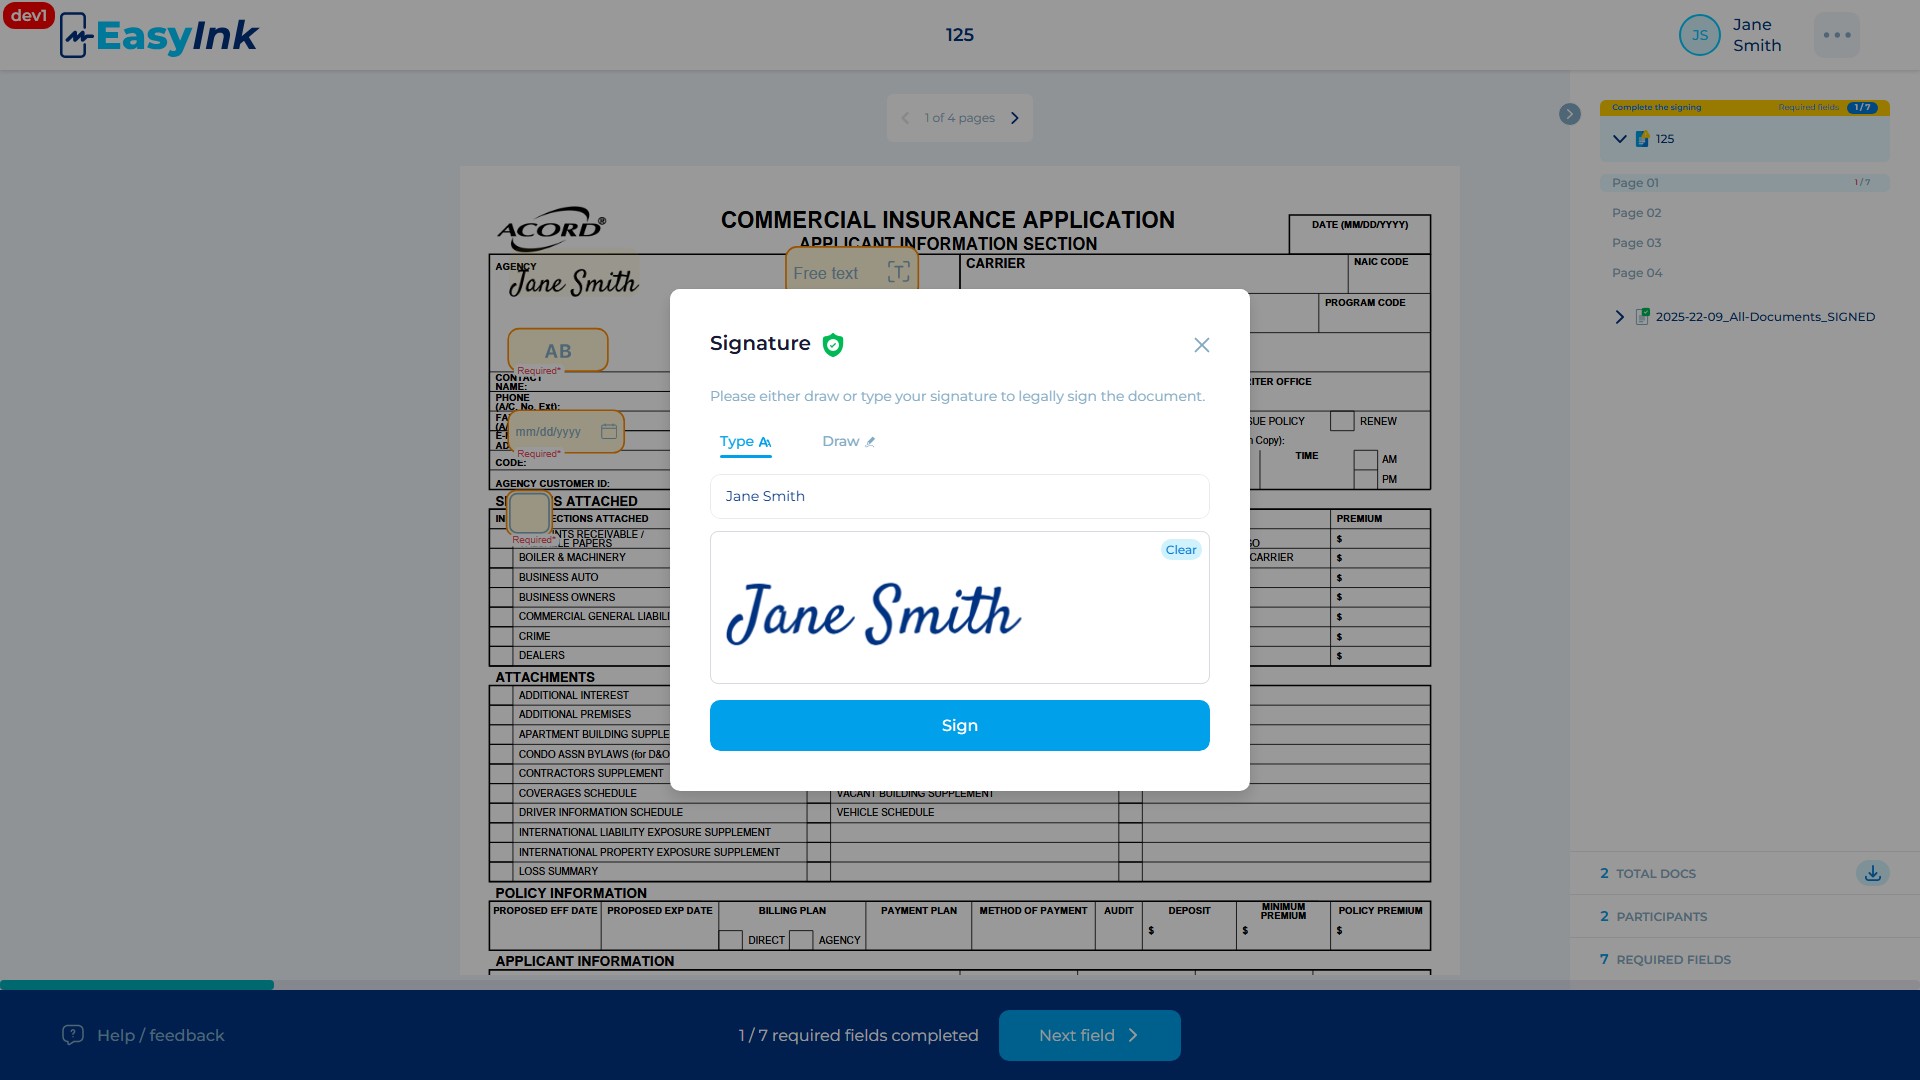
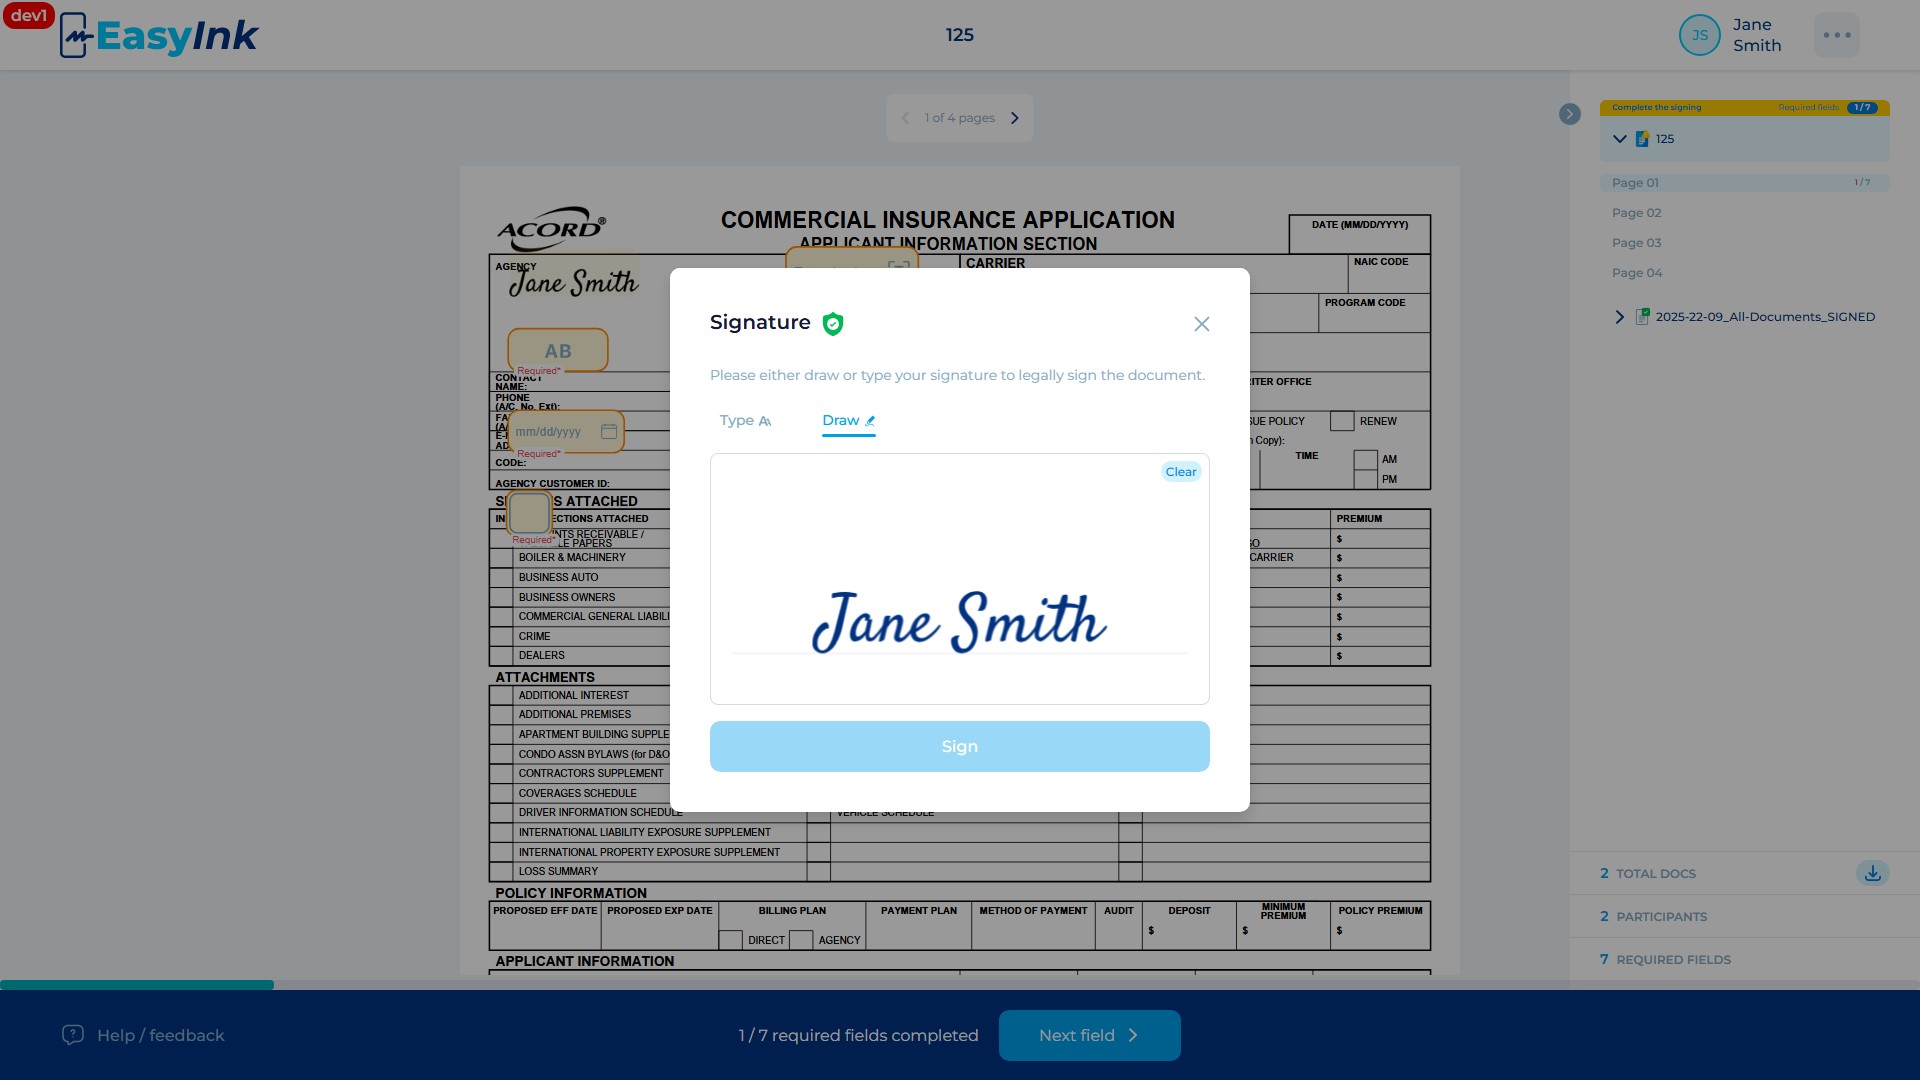
Click on a Signature field: Click on a yellow Signature field assigned to you. A popup appears with two tabs: Type and Draw.
-
Use the Type tab for a typed signature: On the Type tab, the system generates a signature using your full name by default. Use the Clear button to reset the selection.
-
Use the Draw tab for a hand-drawn signature: Switch to the Draw tab to manually draw your signature in the drawing area. The Sign button remains blocked (disabled) until you have drawn something in the drawing area. A Clear button is available to erase the drawing and start over.
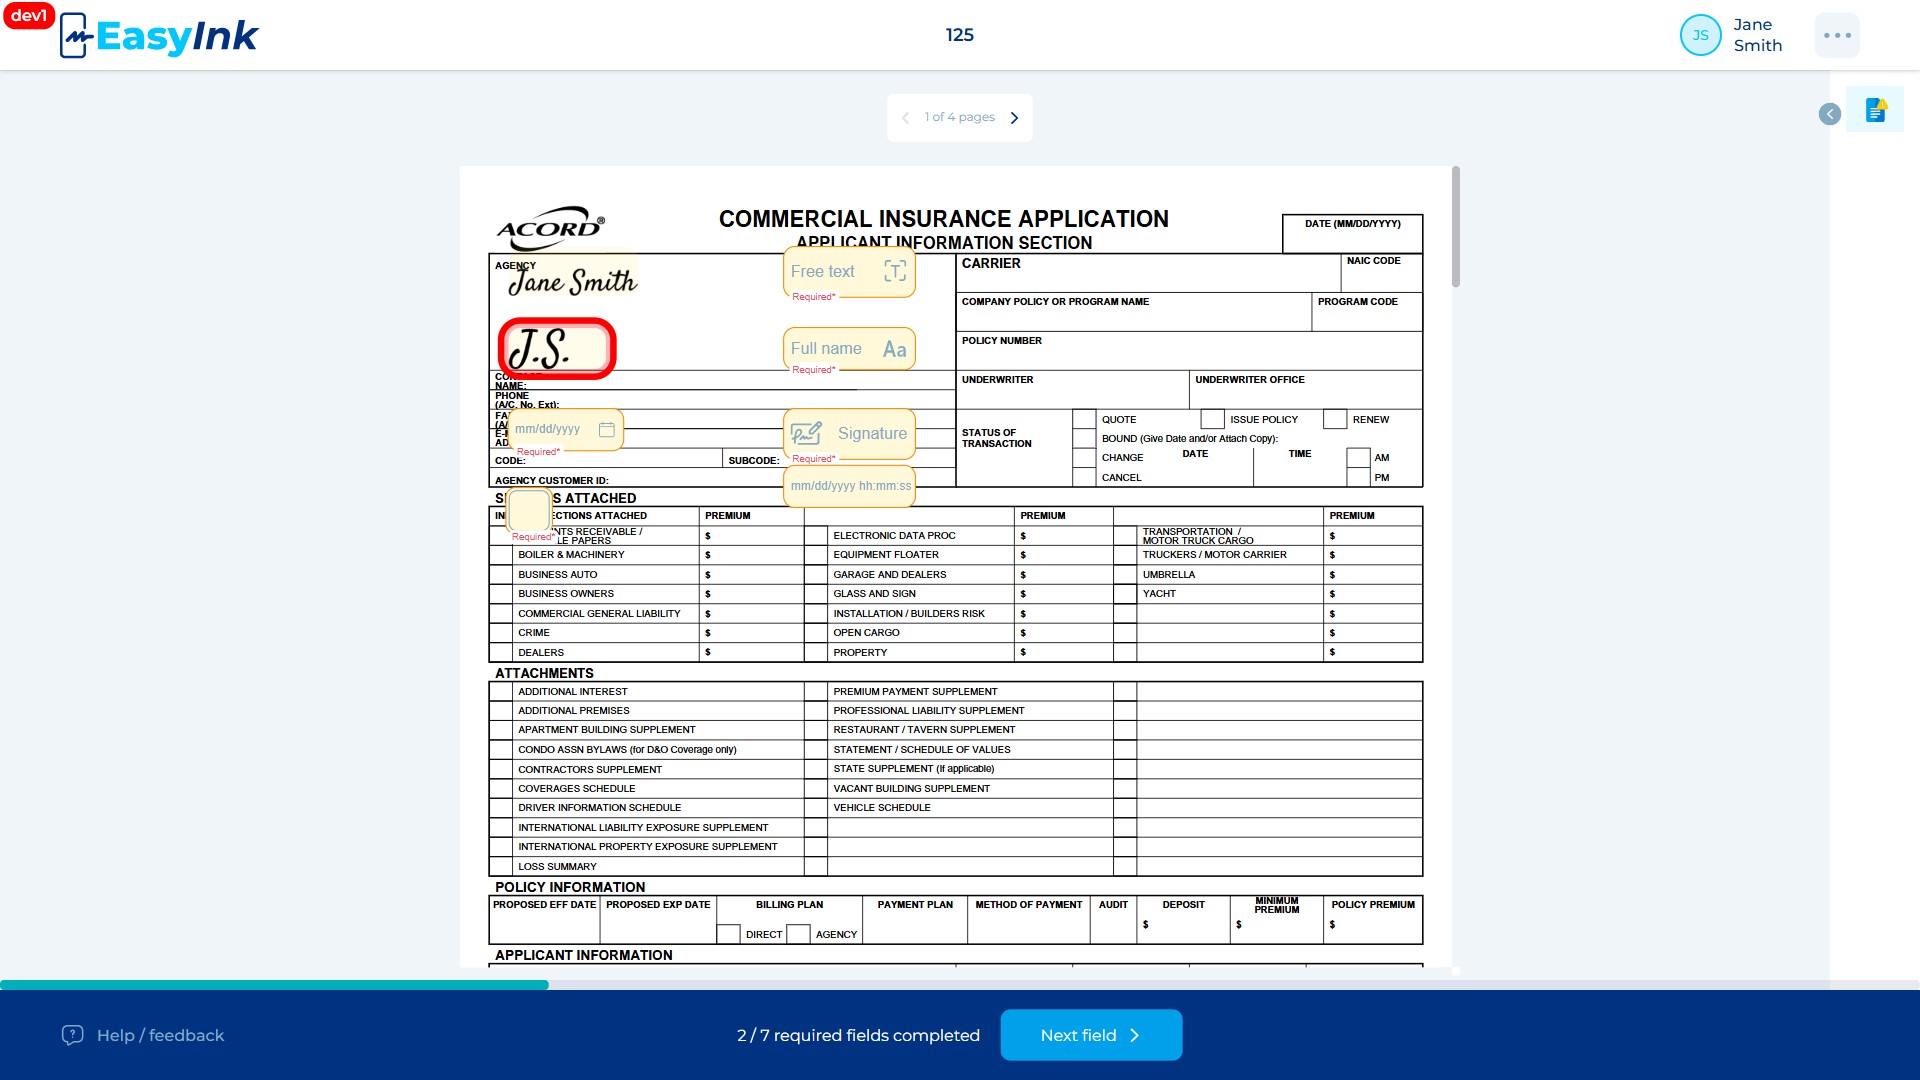
Initials Field
-
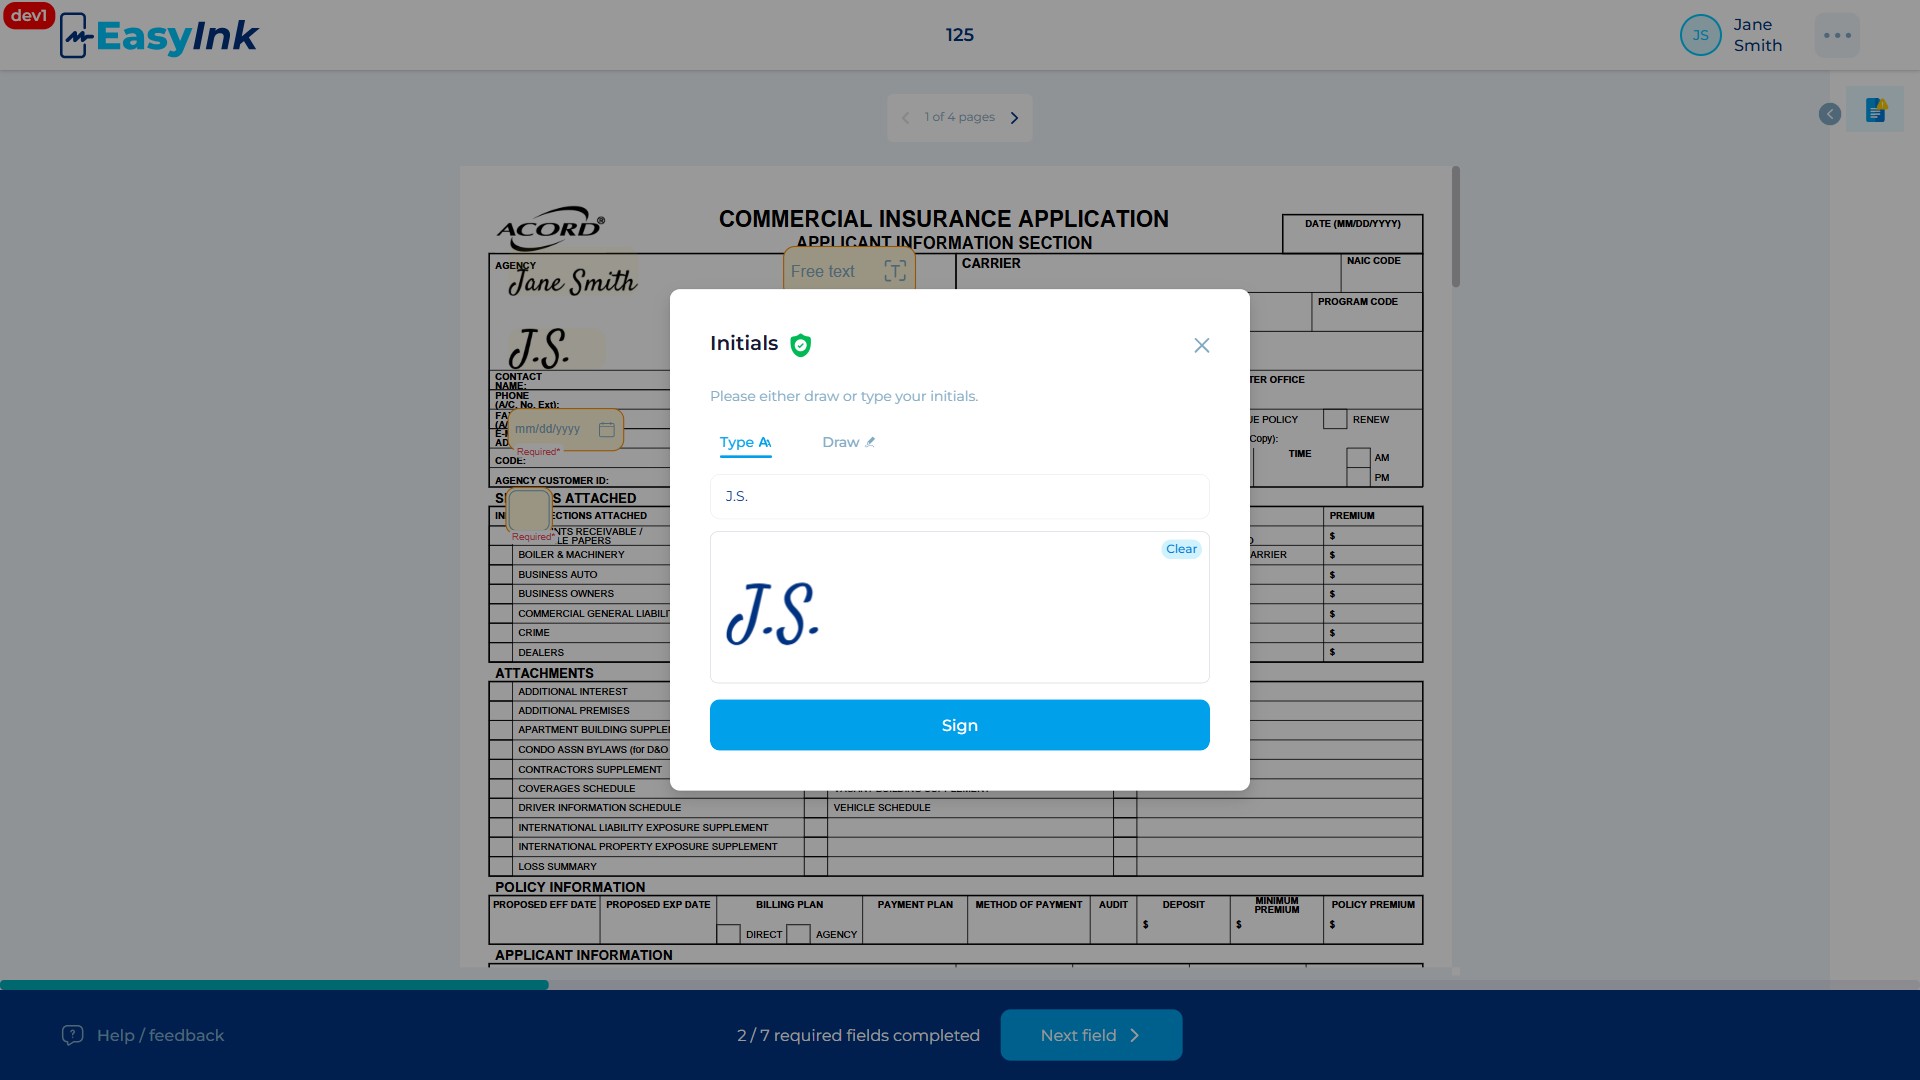
Click on an Initials field: Click on a yellow Initials field assigned to you. A popup appears similar to the Signature field, with Type and Draw tabs, but configured for initials only.
-
Use the Type tab for typed initials: On the Type tab, two styles are available: printed initials and capital initials (first letters of your first and last name). Select the desired style. A Clear button is available to reset the selection.
-
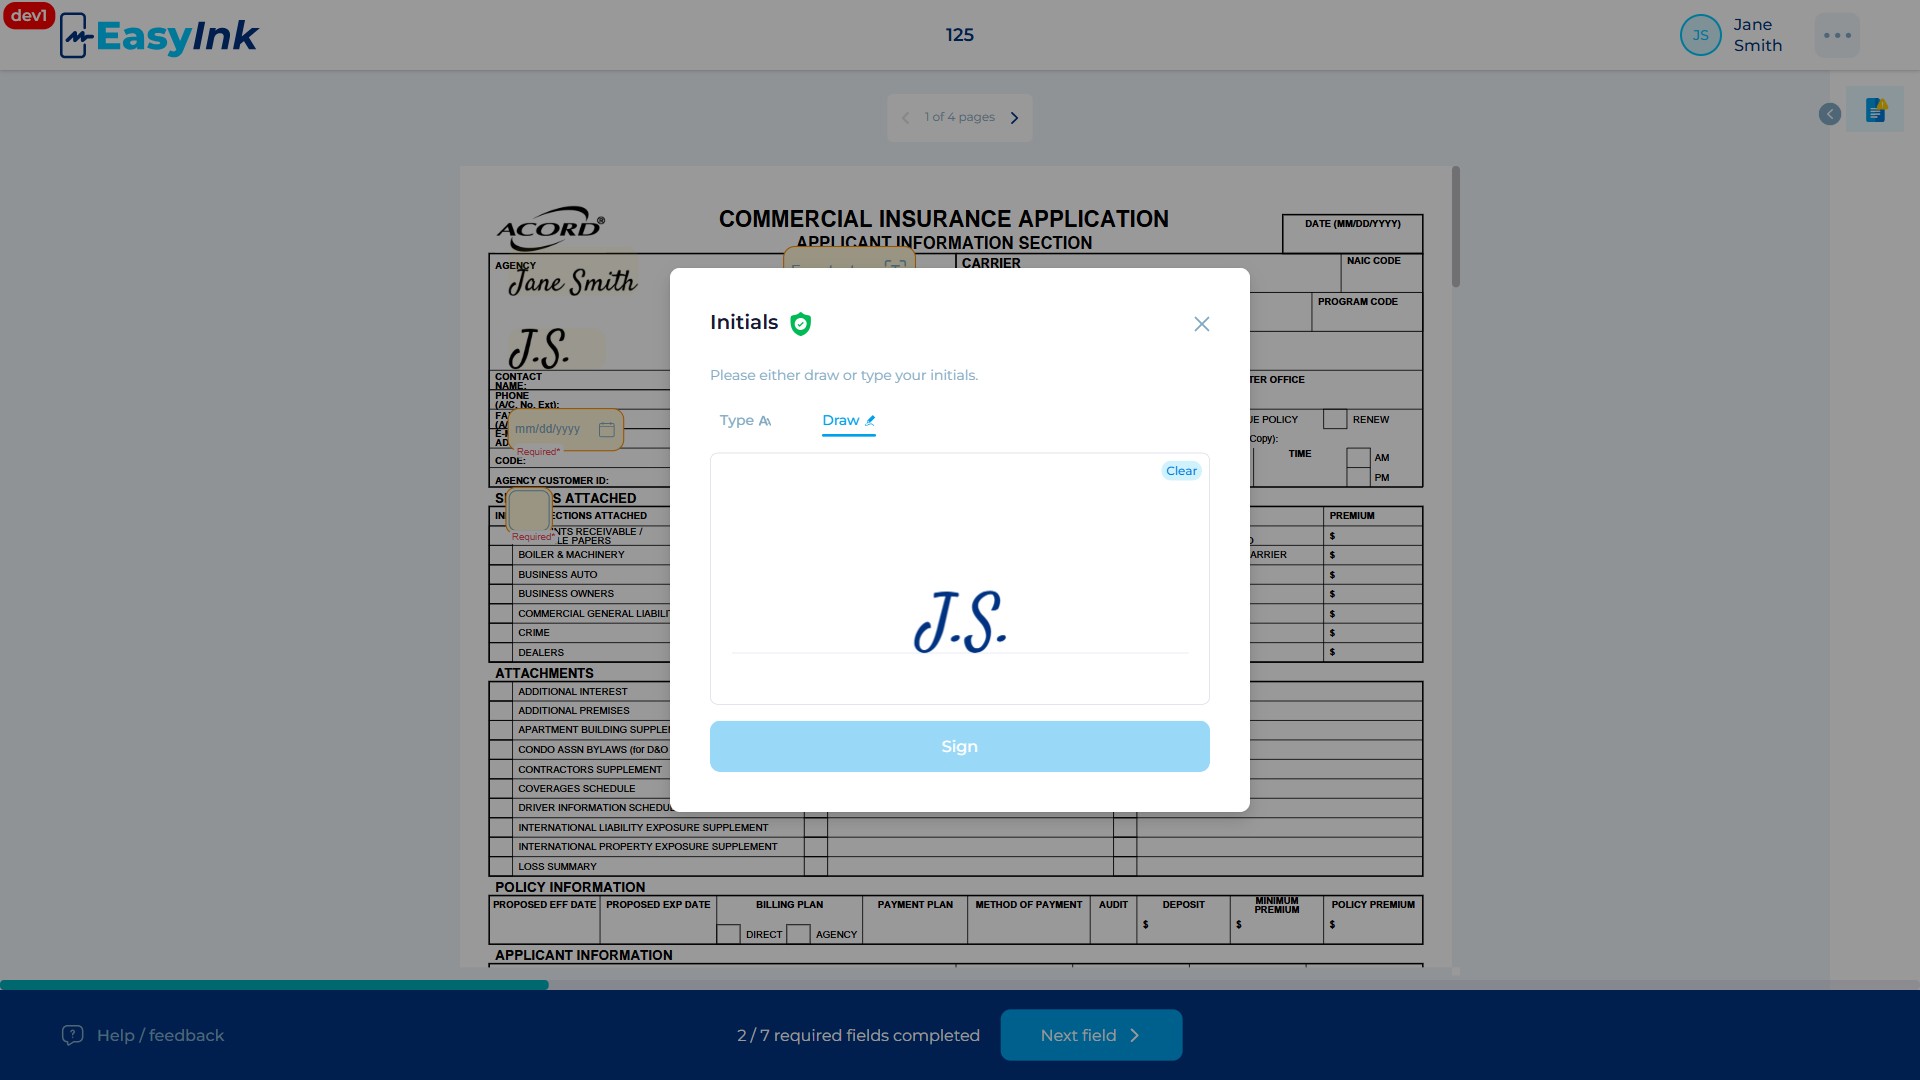
Use the Draw tab for hand-drawn initials: Switch to the Draw tab to manually draw your initials. The Sign button remains blocked until you have drawn something. A Clear button is available to erase and restart.
Date Field
- Click on a Date field: Click on a yellow Date field assigned to you.
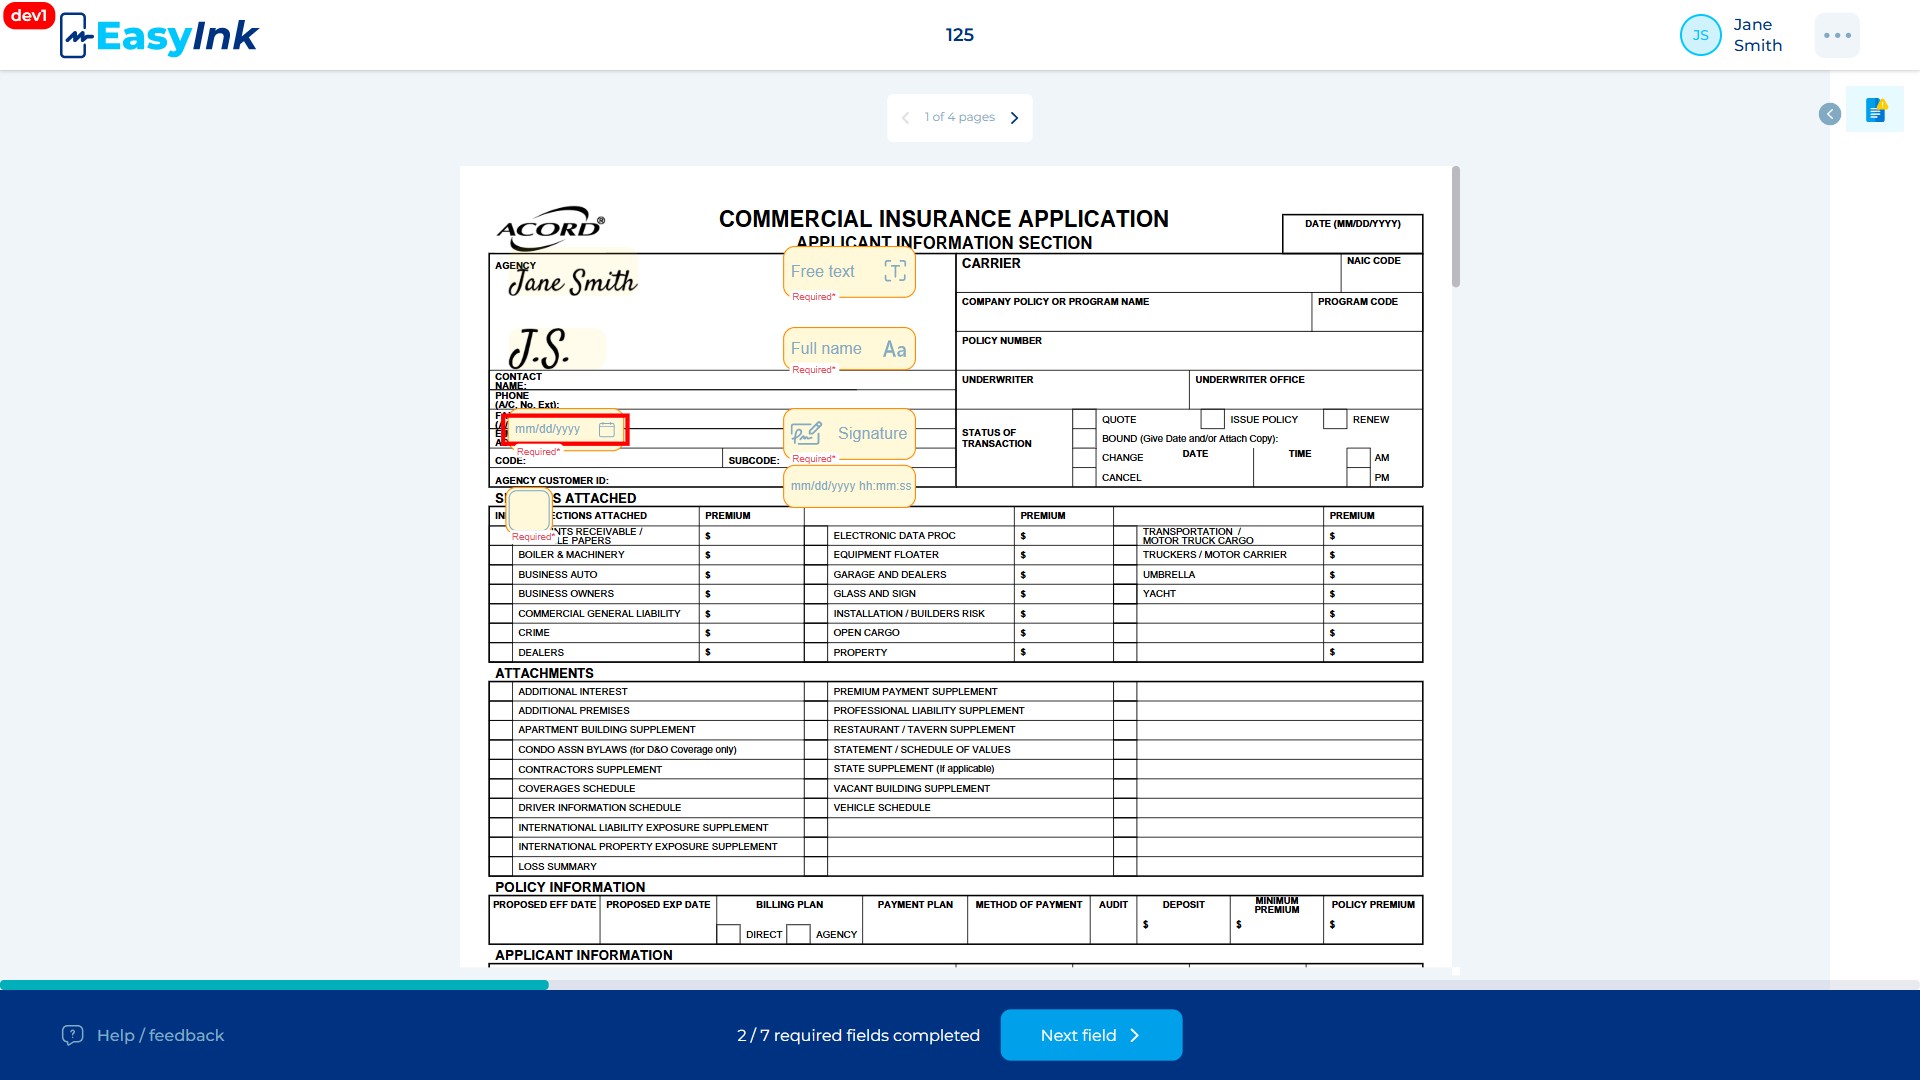
The field auto-fills with your local date in the format mm/dd/yyyy. If the "with time" option is enabled for this field, the format becomes mm/dd/yyyy hh:mm:ss AM/PM. If the initiator has the international format setting enabled, the format changes to dd/mm/yyyy or dd/mm/yyyy hh:mm:ss. The font size automatically adapts to fit within the field borders.
Full Name Field
- Click on a Full Name field: Click on a yellow Full Name field assigned to you.
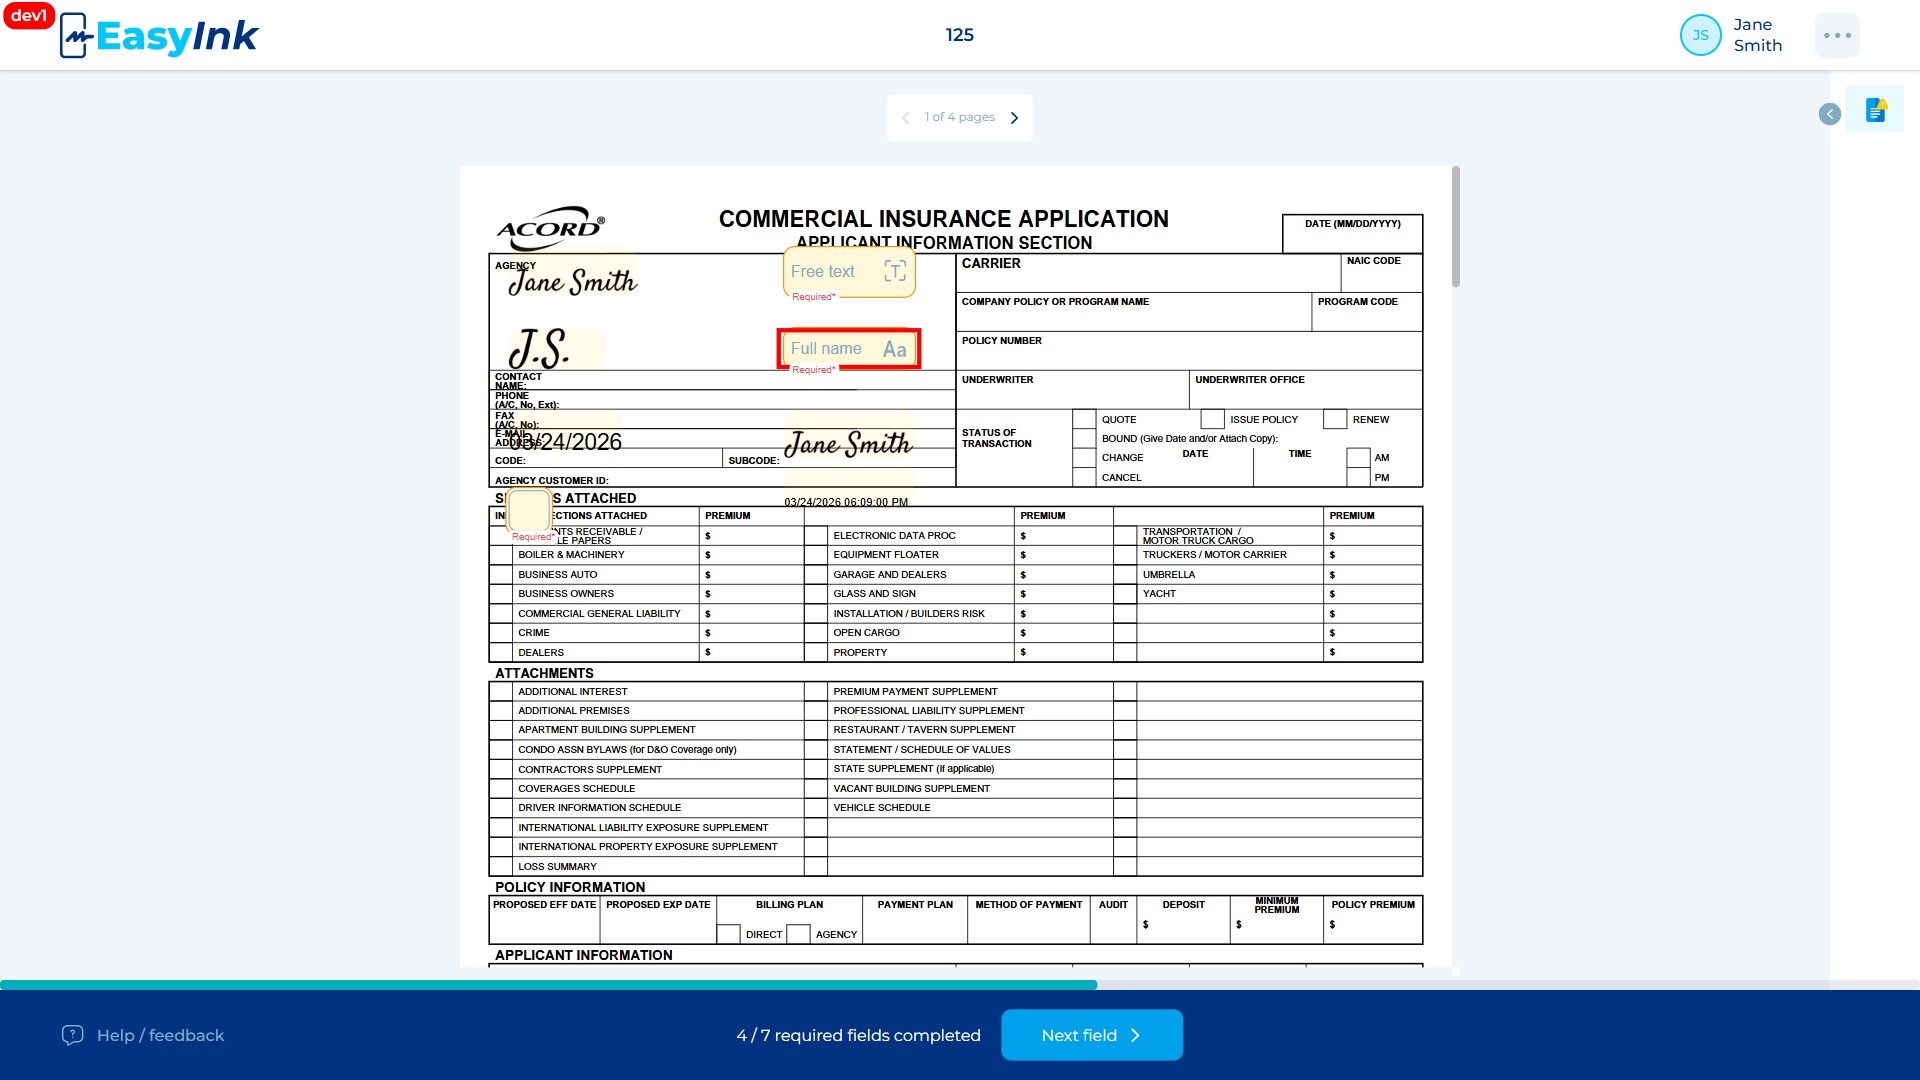
The field auto-fills with your first name, middle name (if one exists in your participant information), and last name as configured in the signing session participant details.
Free Text Field
- Click on a Free Text field and enter text: Click on a yellow Free Text field assigned to you and begin typing.

The behavior depends on the alignment configuration: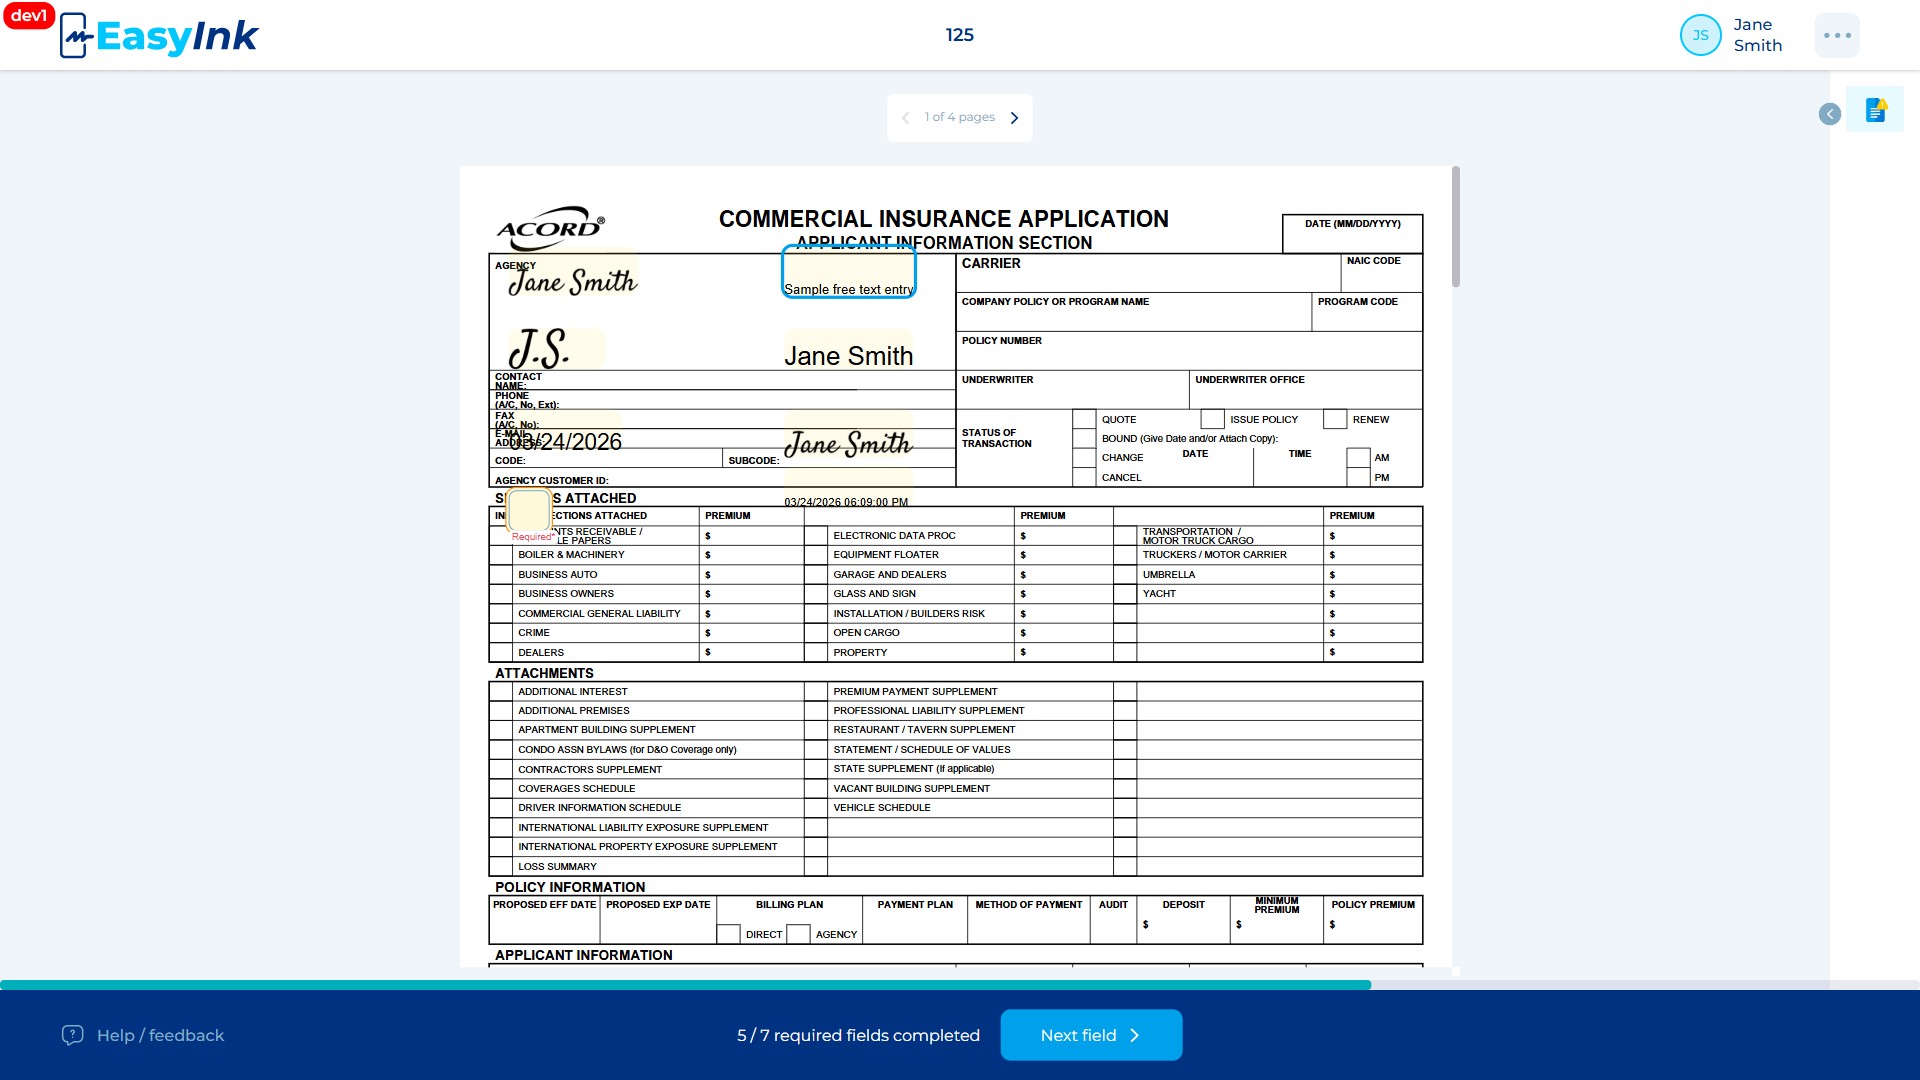
- Left alignment: The field has a rounded height. Text is entered using the configured font size with a maximum of 40 characters per line. Line breaks are supported without changing the font. When the last row of the field is reached, further input is blocked.
- Justified alignment: Text is auto-evenly aligned between the left and right margins of the field. The font size is fixed as defined in the field configuration.
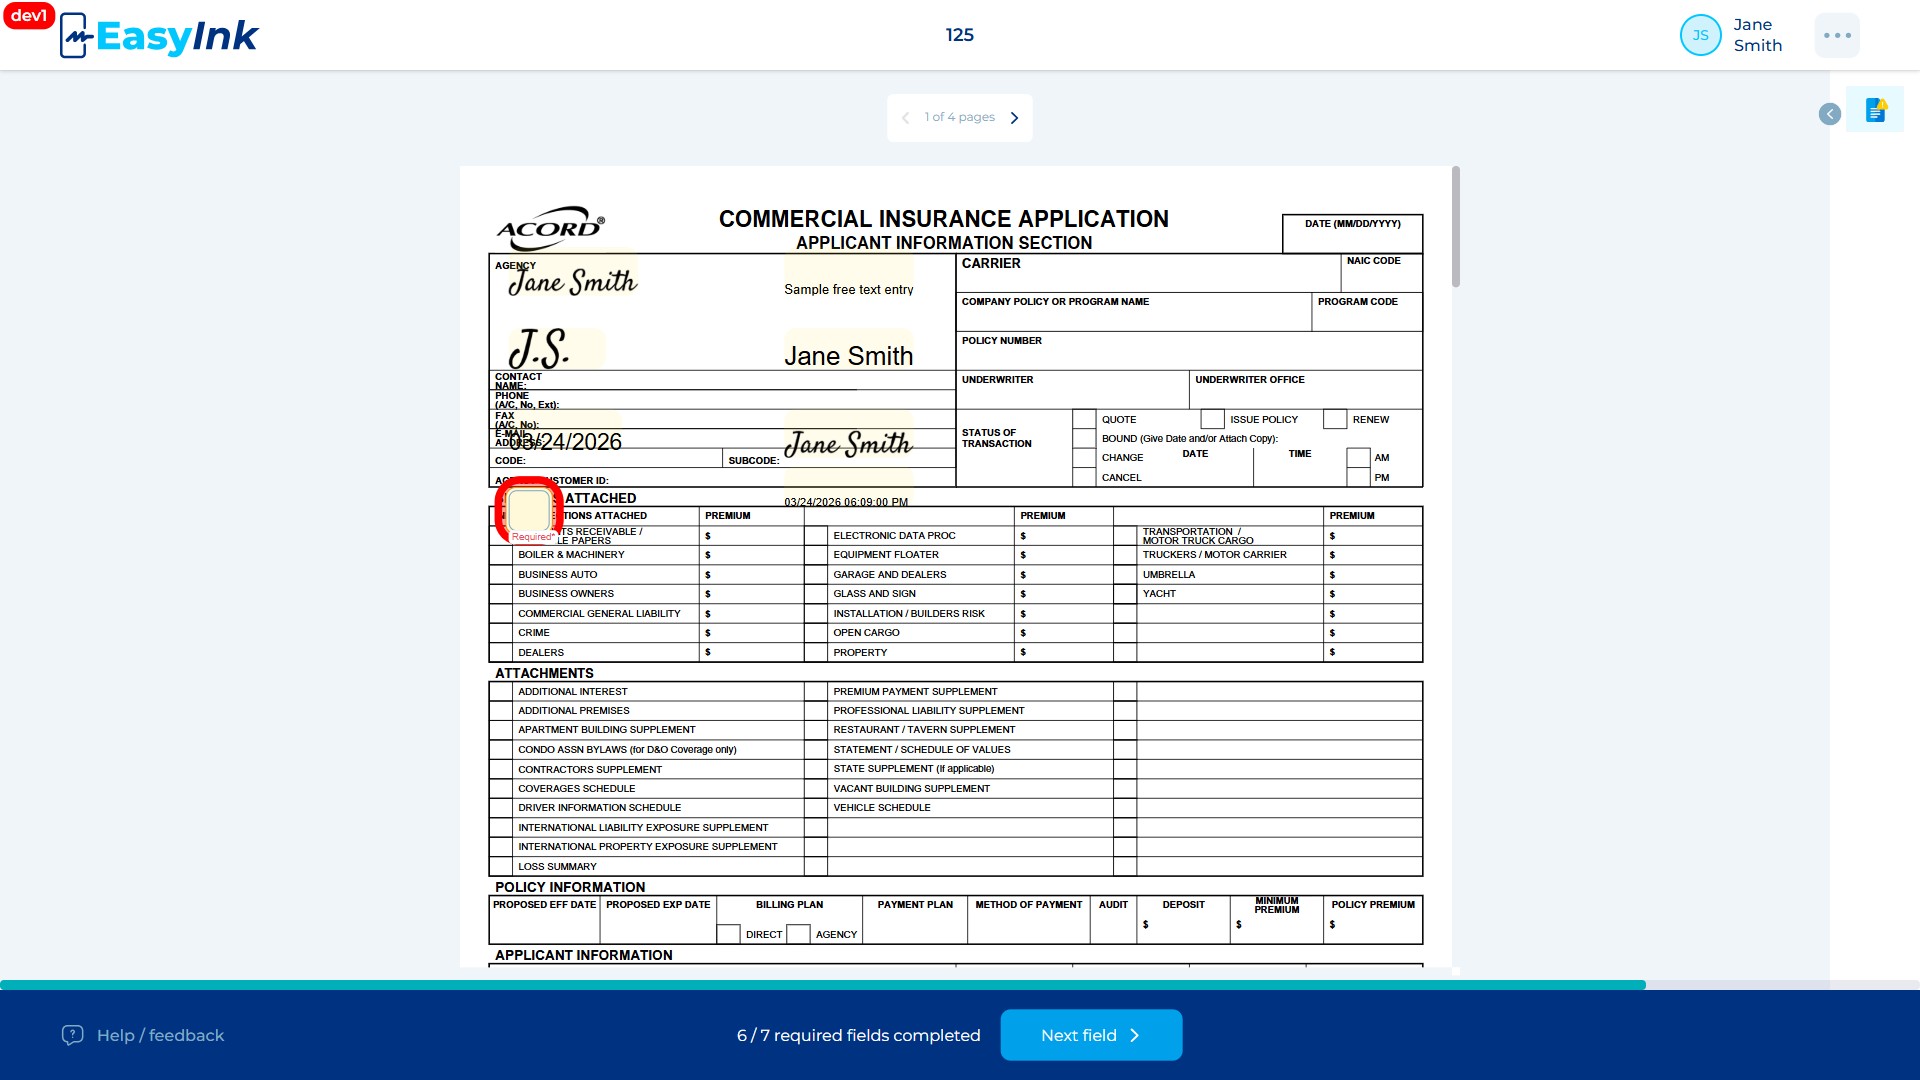
Checkbox Field
- Click on a Checkbox field to toggle it: Click on a Checkbox field assigned to you to toggle it on (checked) or off (unchecked). Each click alternates the state.
Changing an Activated Field
- Click on an already-signed field to change it: Click on any field that you have already activated (signed, filled, or checked).
A tooltip appears with a Change button. Click the Change button, and the system re-runs the activation flow for that field type, allowing you to provide a new value. For a DateTime Signature field, changing the signature also rewrites the Date time component with a new UTC timestamp.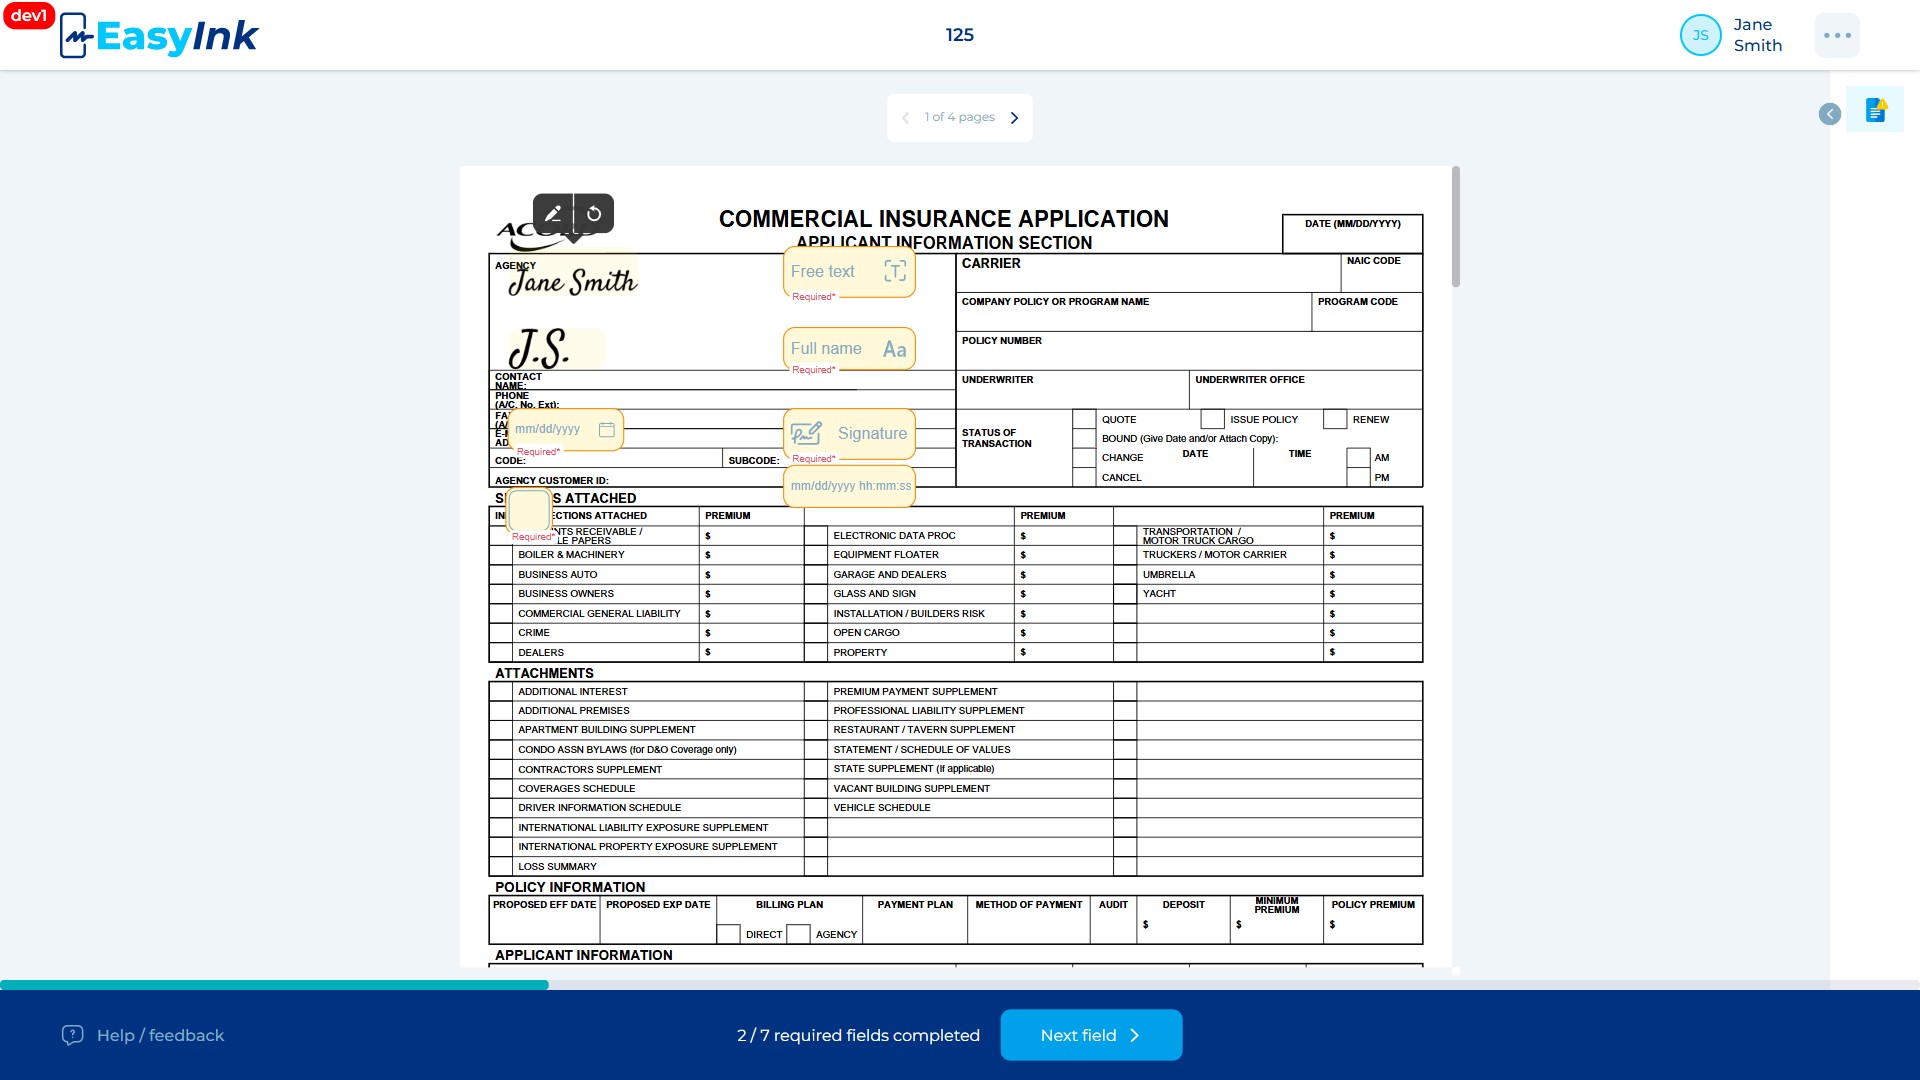
Clearing an Activated Field
- Click on an already-signed field to clear it: Click on any field that you have already activated.
A tooltip appears with a Clear button. Click the Clear button to revert the field to its unsigned (empty) state. Special behaviors apply to certain field types:
- Date field: No tooltip is shown. Clicking the filled Date field clears it immediately.
- DateTime Signature field: Clearing the Signature part clears both the Signature and the Date time components. The Date time part is not interactive and cannot be cleared individually.
Finishing Signing
-
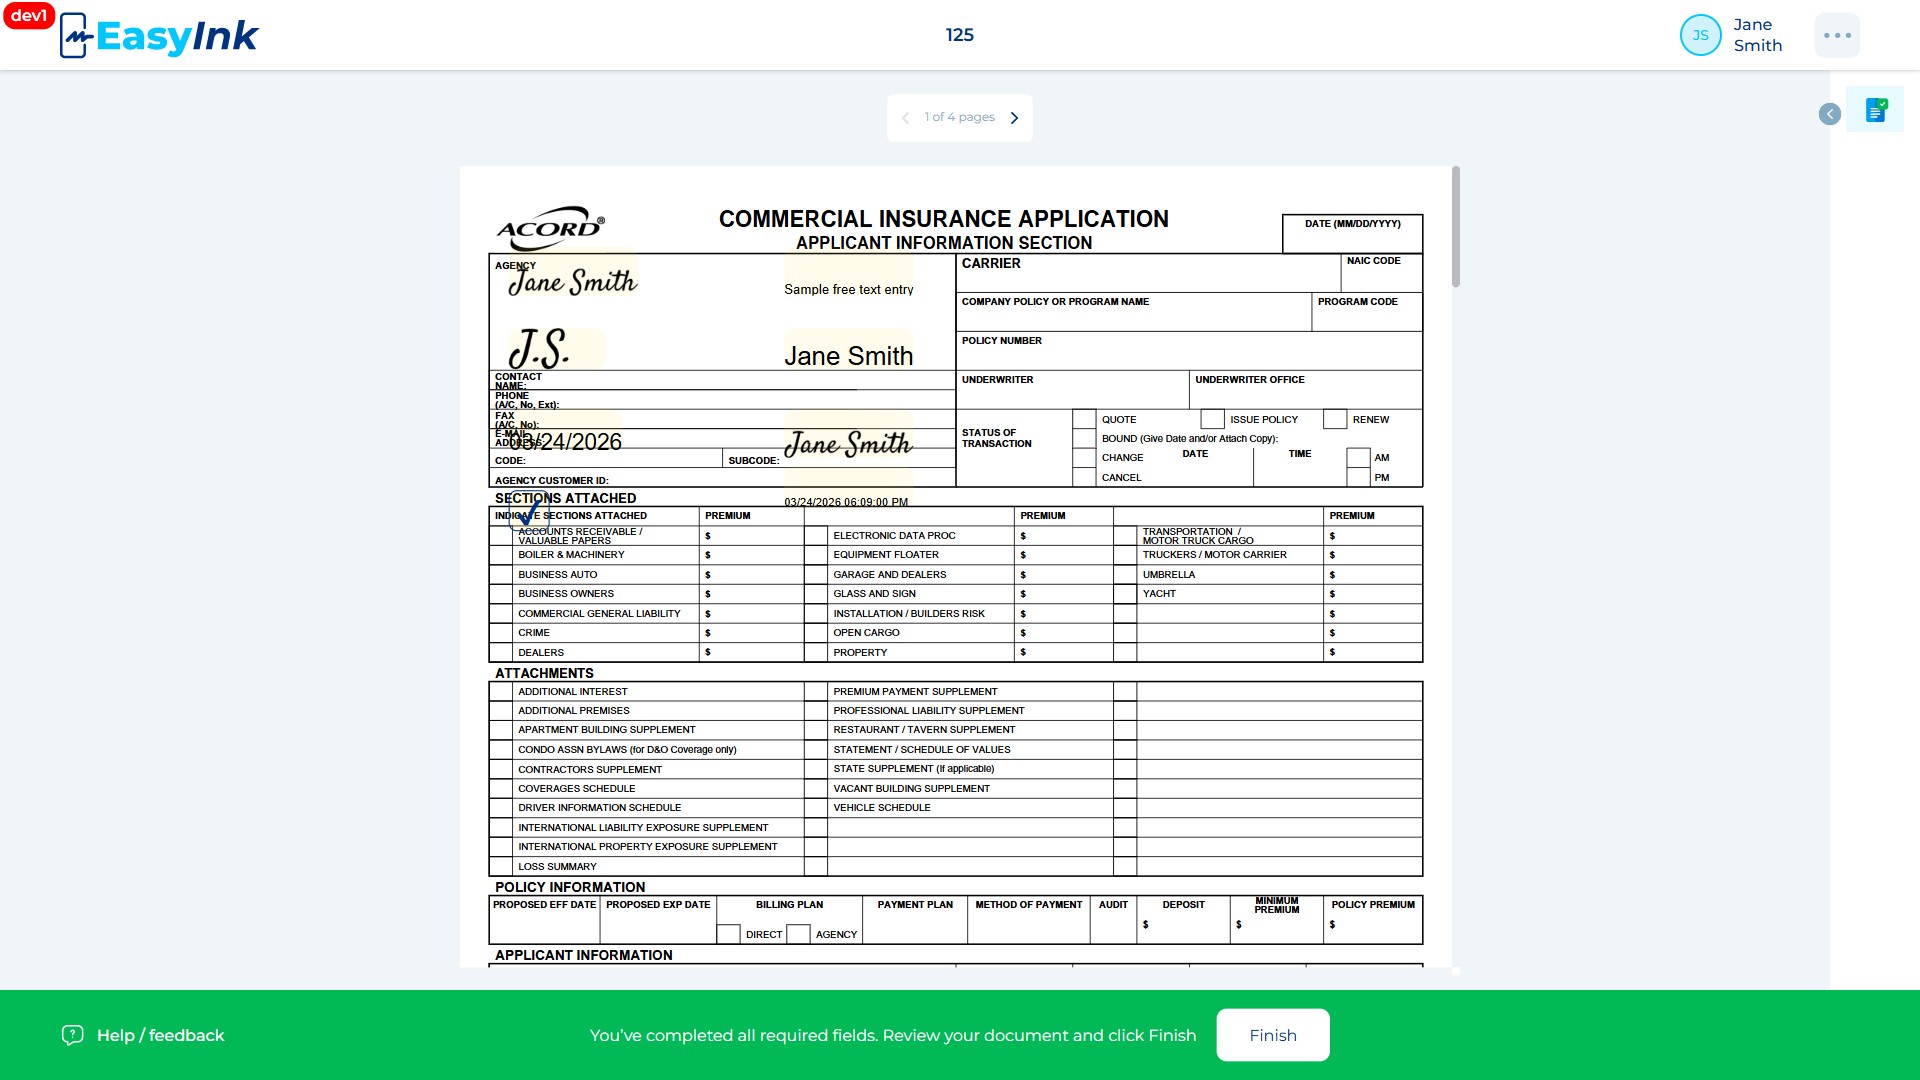
Complete all required fields: Ensure that all required fields assigned to you across all documents in the session have been filled. The Finish button (located at the bottom-right of the screen, displayed in green) remains disabled until every required field has been completed.
-
Click Finish: Once all required fields are completed, the Finish button becomes active. Click the green Finish button to submit your signing. Your participant session status changes to "Signed".

-
Post-finish processing: After you click Finish, the system processes the signing session based on its configuration:
- If all participants have signed: The overall session status changes to "Signed". The system compiles the signed documents, creates an audit trail, and signs the documents using DigiSert. All participants are notified using the "Signed documents notification" template. If the "Send documents in e-mail attachments" option is enabled, an AllInOne document with the audit trail is attached to the notification email.
- If sequential order is configured and more participants remain: The next participant in the sequence is notified to begin their signing process.
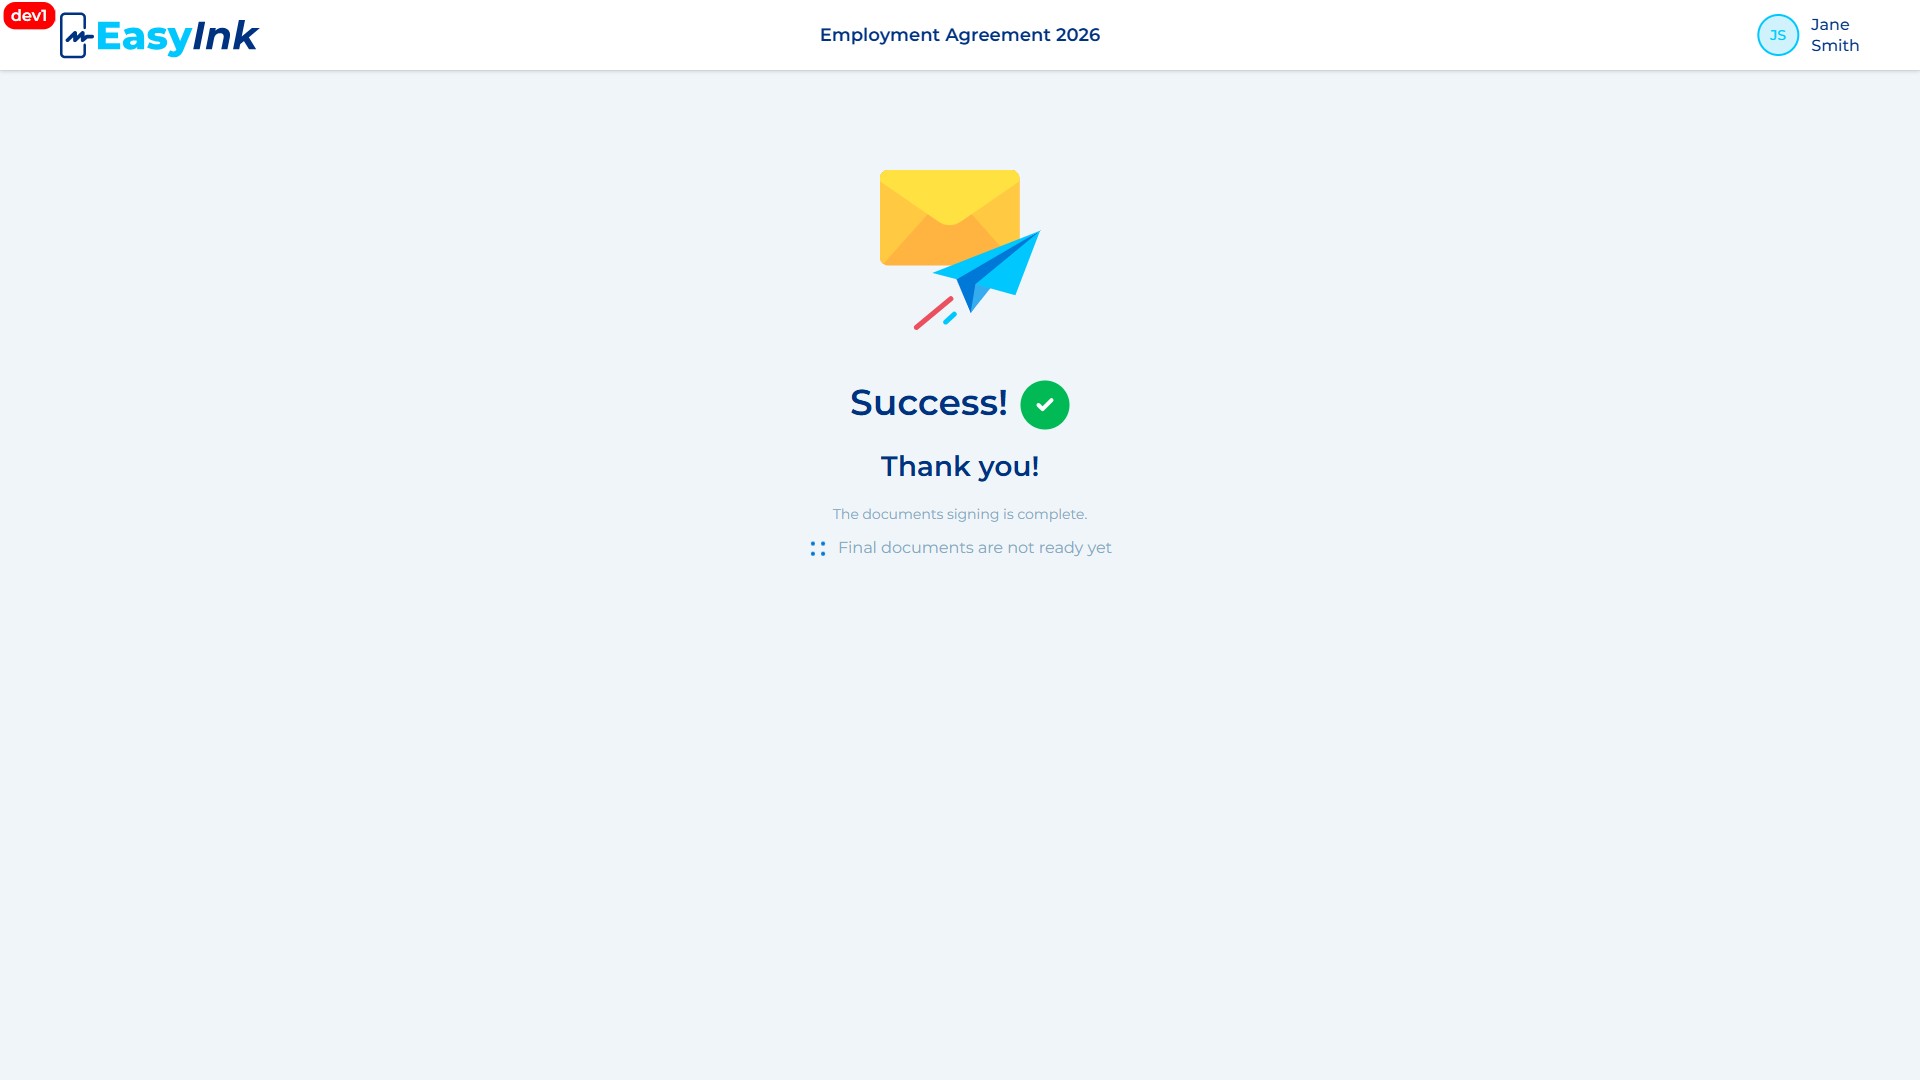
Success Screen
- Download signed documents: The Success Screen displays a list of all available documents with individual download buttons next to each document. Click a download button to download a specific document, or click the Download All button to download all documents at once. Read-only documents are downloaded separately from signed documents. Any documents originally in Doc/Docx format are automatically converted to PDF for download.
See Also
- Help/Feedback -- Submitting feedback from the signing portal
- Language Switching -- Changing portal language between English and Spanish